
Creating Landscape Photos With Impact

Anyone who has picked up a camera knows that it can be challenging to take landscape photos that have that “wow” factor. Creating images that resonate with your viewer requires knowledge, timing, patience, and lots of practice. In this episode, we discuss 10 techniques for improving your landscape photography – techniques that will help you upgrade your photos from mere vacation snapshots into fine art. We show many real-life examples of these techniques so you can visualize exactly what we are talking about.
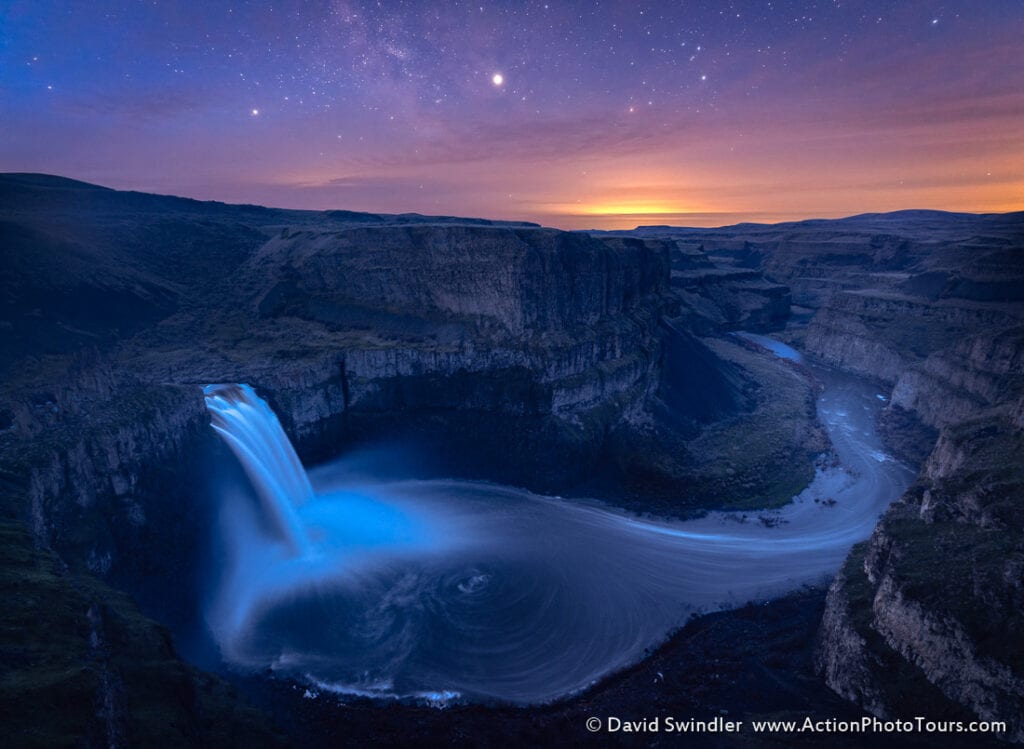
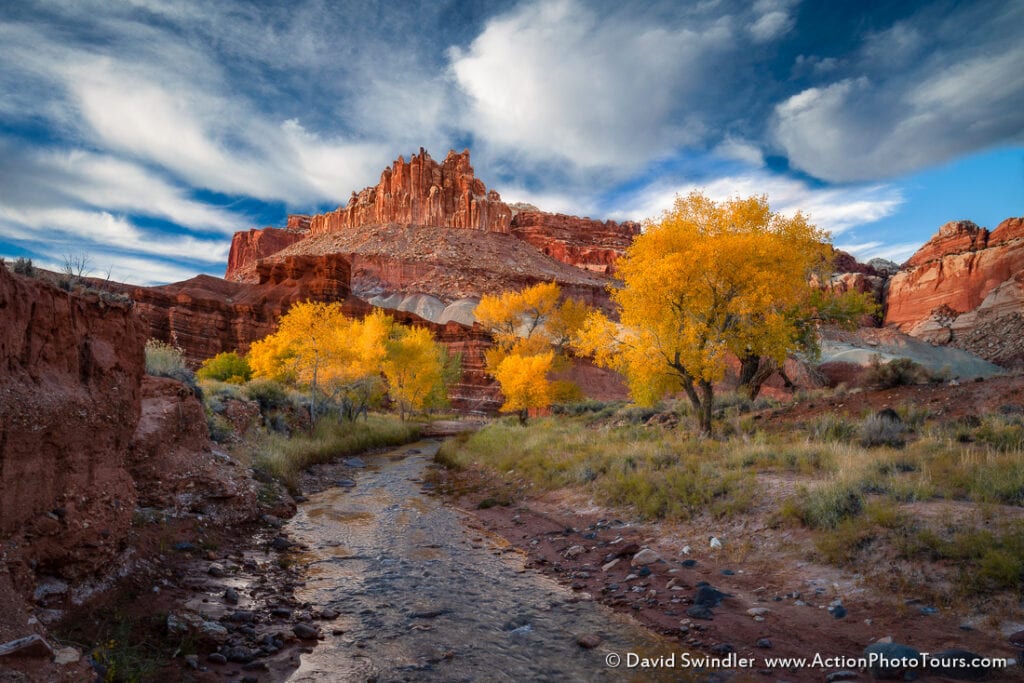
For landscape imagery, it’s really all about the light. If the light isn’t right or you’re not shooting at the best times of the day, it can be almost impossible to create a compelling image. During the video, I discuss the 2 shots below and how the light created depth, dimension, and created the compositional flow.
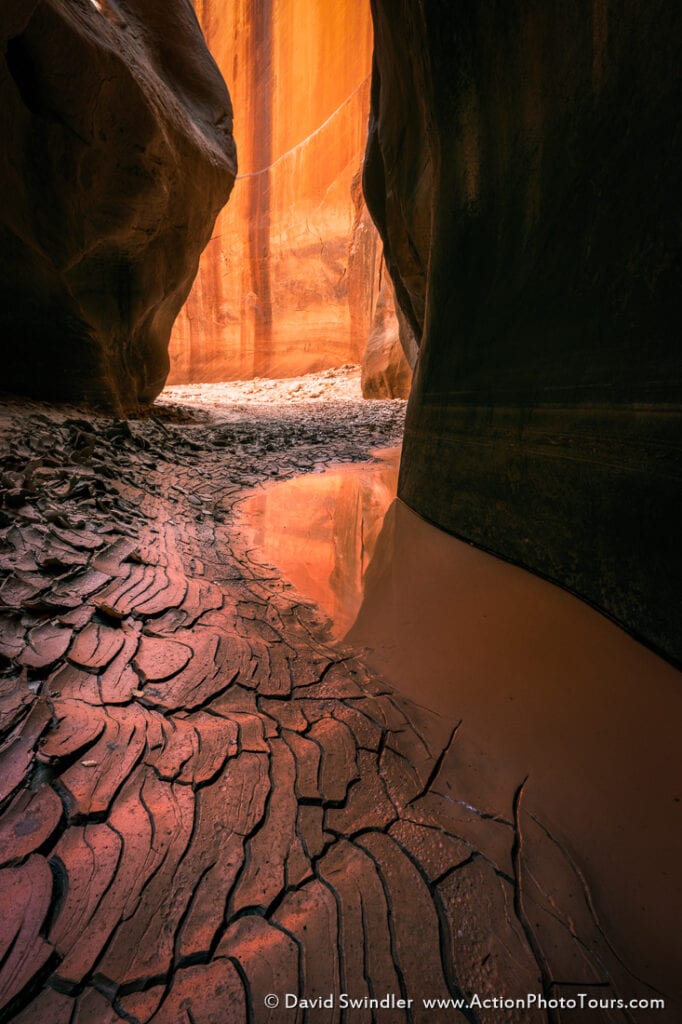
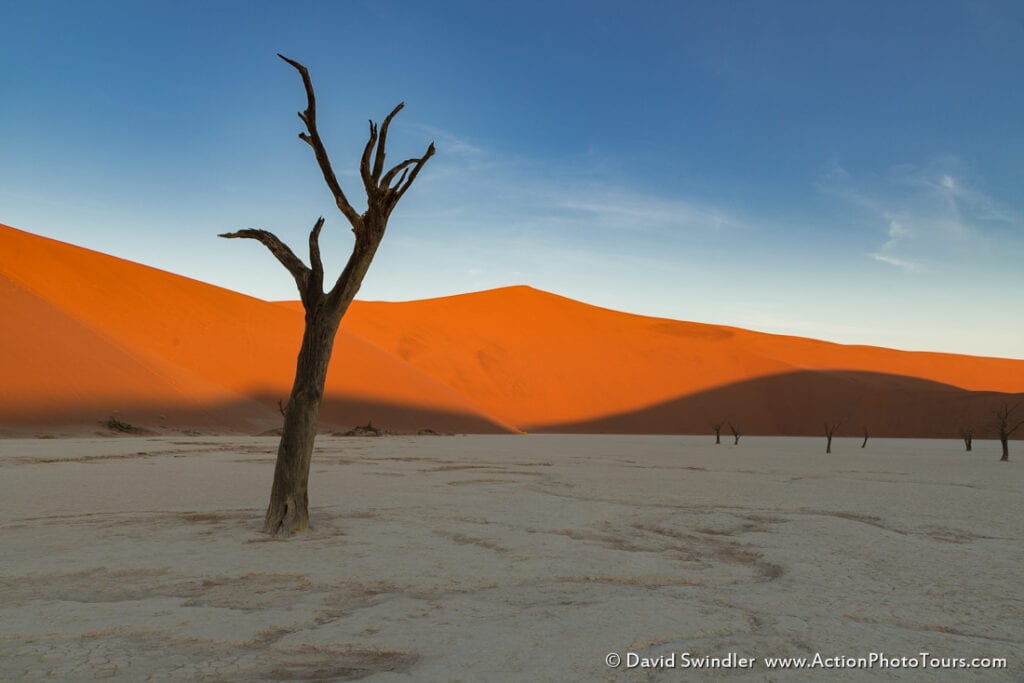
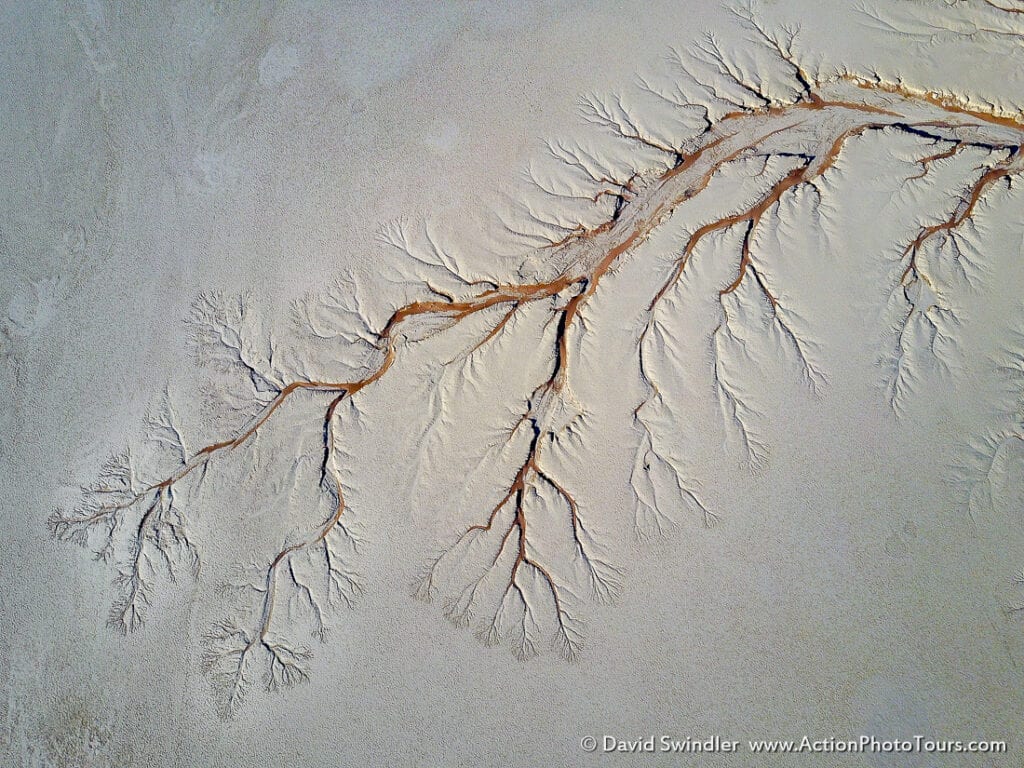
Planning your shots to put bright highlights towards the back of the image will help guide the viewers eye into the frame and allow them to “journey” into the landscape. In the shot below, I used the mud cracks as leading lines. Having them accentuated with subtle reflected light was an added bonus. The eye travels along these mud cracks, sees the reflection in the water, and then navigates towards the warm glow in the back.
Having a strong foreground is one of the best ways to achieve an eye-catching landscape photo. In the desert, I really like finding leading lines that help guide my viewers’ eye into the shot. Leading lines can be found in so many places. Once you start looking for them, you’ll find them everywhere! Diagonal lines convey the most dynamism and energy, so I try to frame my compositions to make the lines more diagonal.
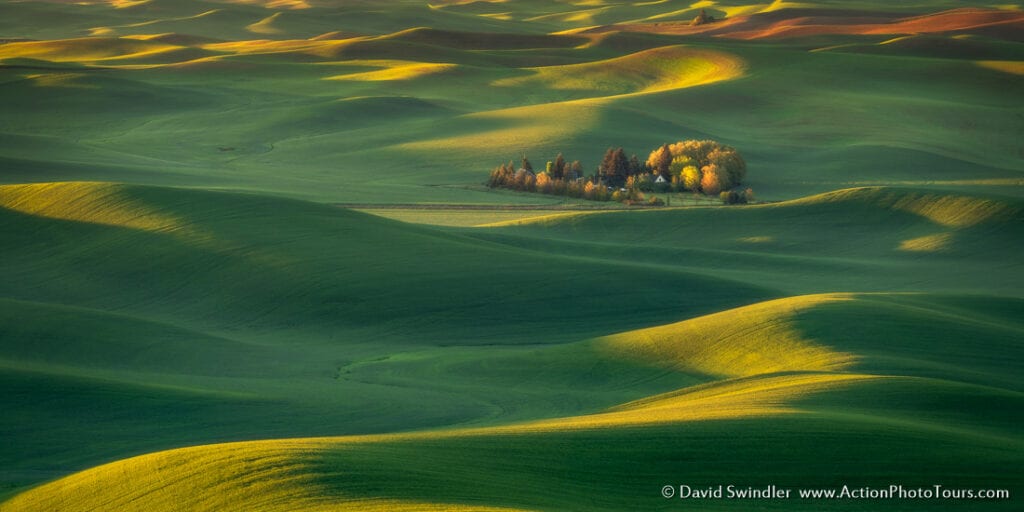
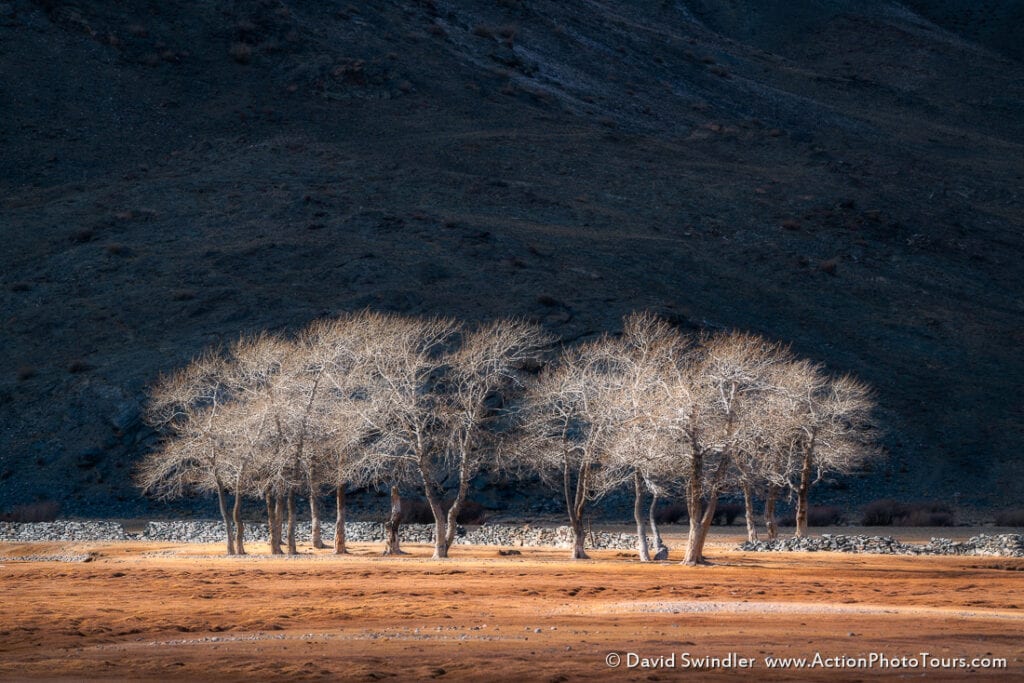
Don’t always think you need to take landscape photos at sunrise and sunset. During the middle of the day you can sometimes get dappled light or spotlighting that can really enhance the depth and interest in a photo. Here is an example when a spotlight hit this small group of trees. I quickly got out my telephoto lens and compressed the trees against the dark hillside.
Shooting during blue hour is another way to create engaging landscape photos. This is the time approximately 30-60 mins after sunset or 30-60 mins before sunrise.
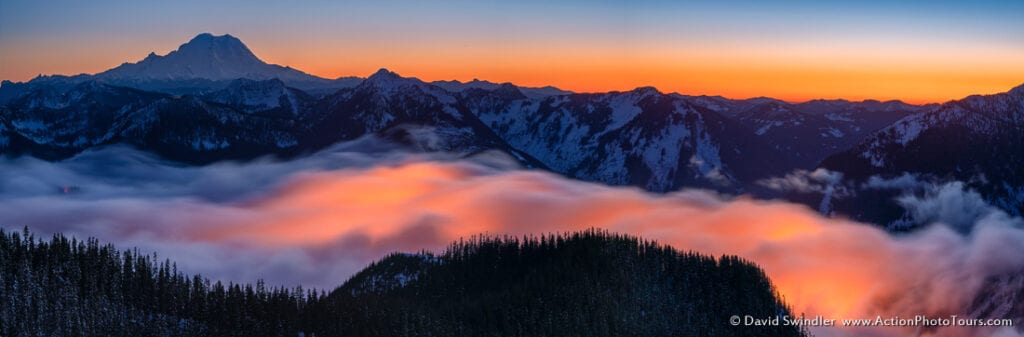
I especially like shooting cityscapes and artificial light during blue hour since it produces such a nice contrast against the deep blue sky. The shot below utilizes the lights of the ski resorts shining up through the fog. It creates a strong composition since the sky and the fog band below show symmetry!
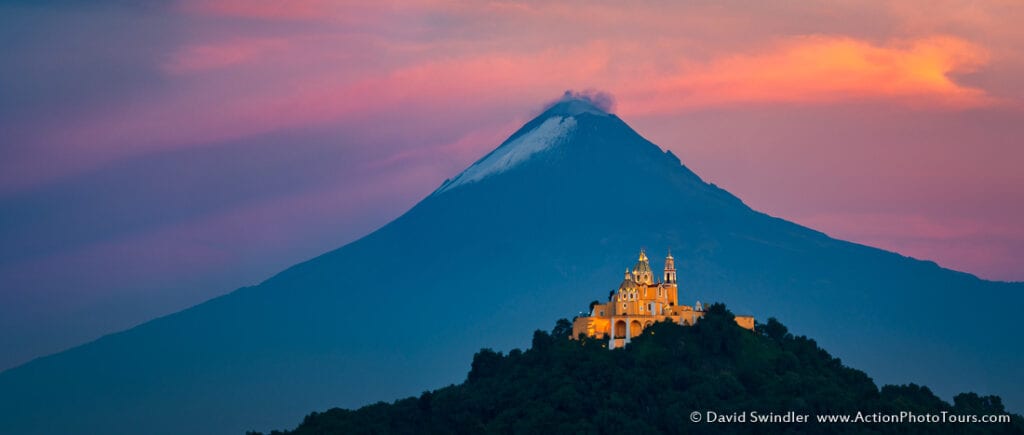
Knowing your location and doing your scouting ahead of time is extremely important in landscape photography. In the video, I discuss how difficult it was for me to find the perfect angle for the panoramic image below. There is really no substitute to having “boots on the ground” when you are figuring out the best angles and compositions.
Knowing the area is also very important if you want to try and capture things like fall colors, wildflowers, snow, etc. Many times things don’t work out according to an “average” year. By knowing the area well, you can easily make a “Plan B” if conditions aren’t to your liking. That is especially true in mountainous areas where things like flowers and fall colors can change drastically with elevation.
In the video, I talk at length about how focal length and perspective can completely change the look of the photo. You need to have a solid understanding of when to choose a particular focal length and how that changes the look and feel. The images below are all from the same area. They are taken from 11mm all the way up to 600mm and from a variety of different perspectives. Note the difference in how each lens can change the scene! Get used to looking through your camera a lot and find your composition first before you setup your tripod.

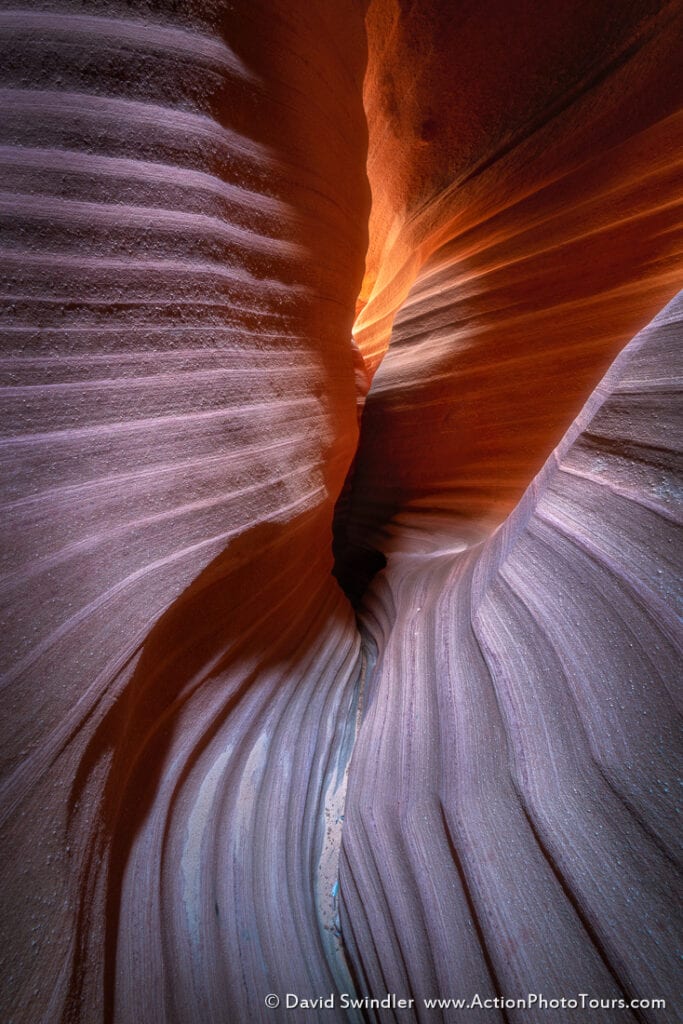
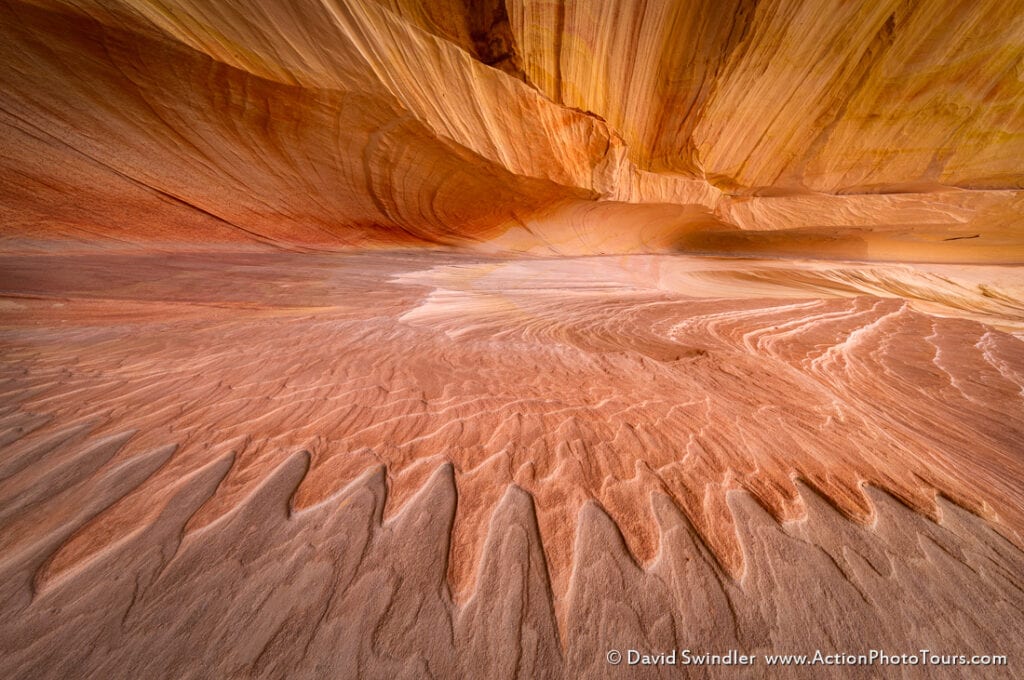
If you can’t find an engaging foreground, one technique that can often work is to get down low and use a wider angle lens. This is the technique I used for the image below. By getting low, I could accentuate the shark tooth patterns of the floor of this alcove. This really brought the shot alive!
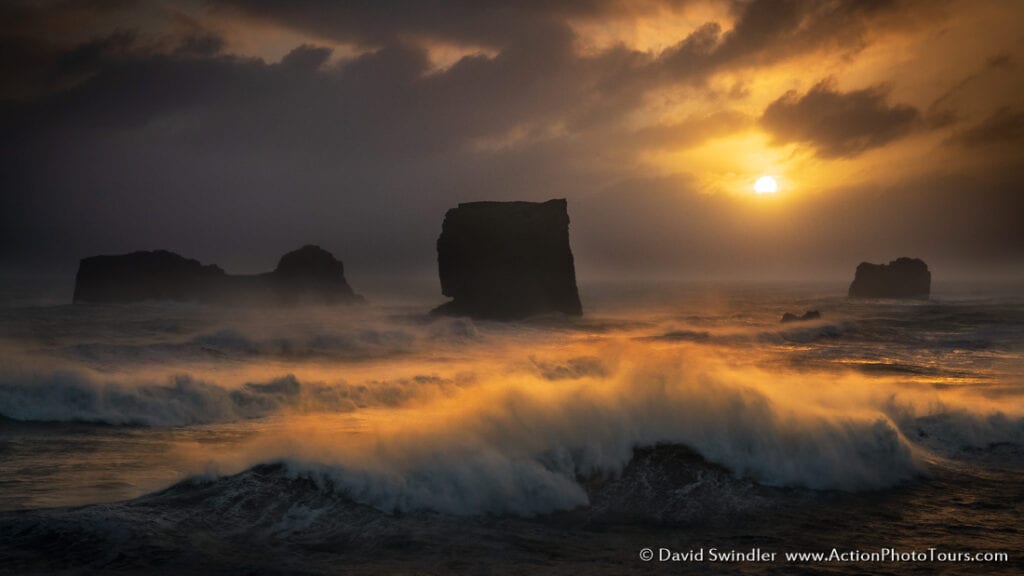
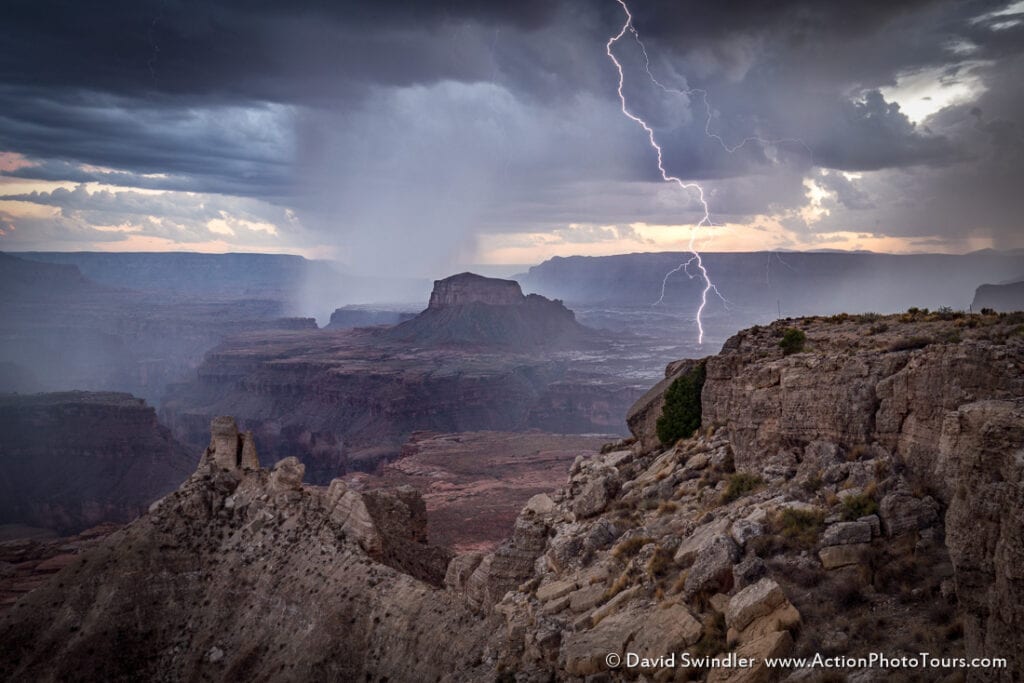
Good landscape photographers know how to read and follow the weather. Going out to shoot when you have the best chances for dramatic conditions will pay dividends. This takes a lot of practice and patience but the results can be stunning when you nail it! I always tell people I would rather have a 1 in 10 chance of amazing light than a 100% chance of mediocre light. You will strike out a lot but it feels so good when you hit that home run!
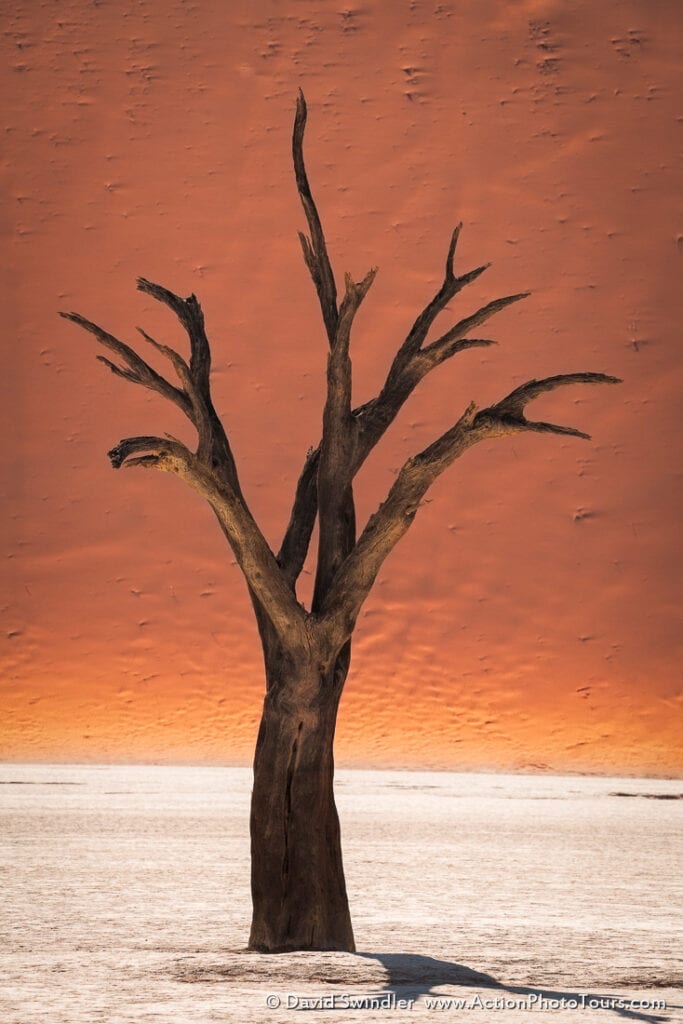
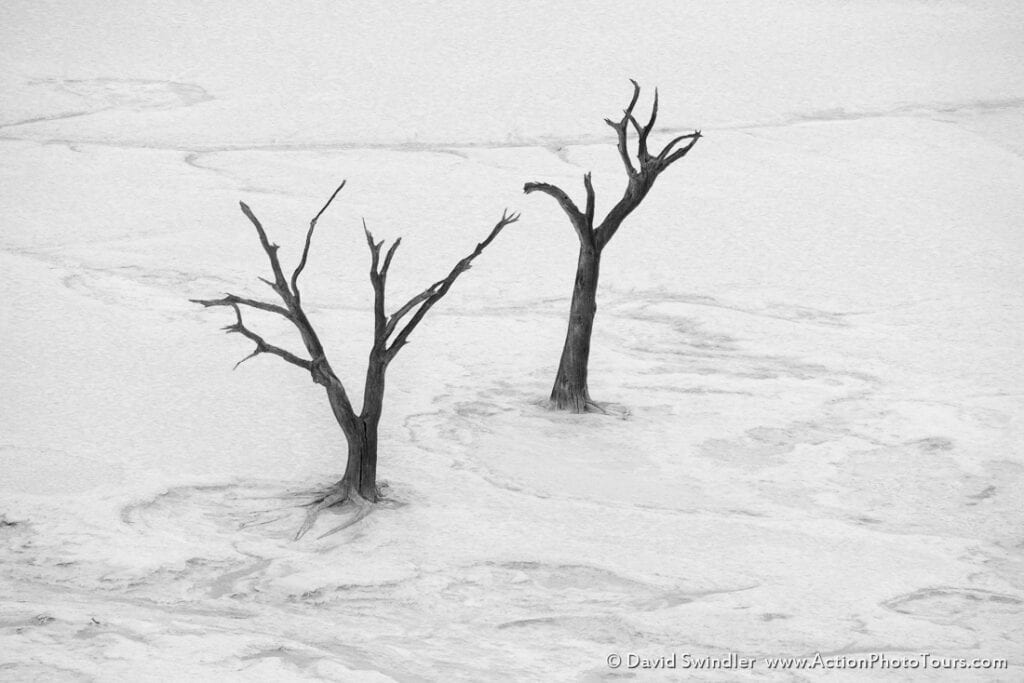
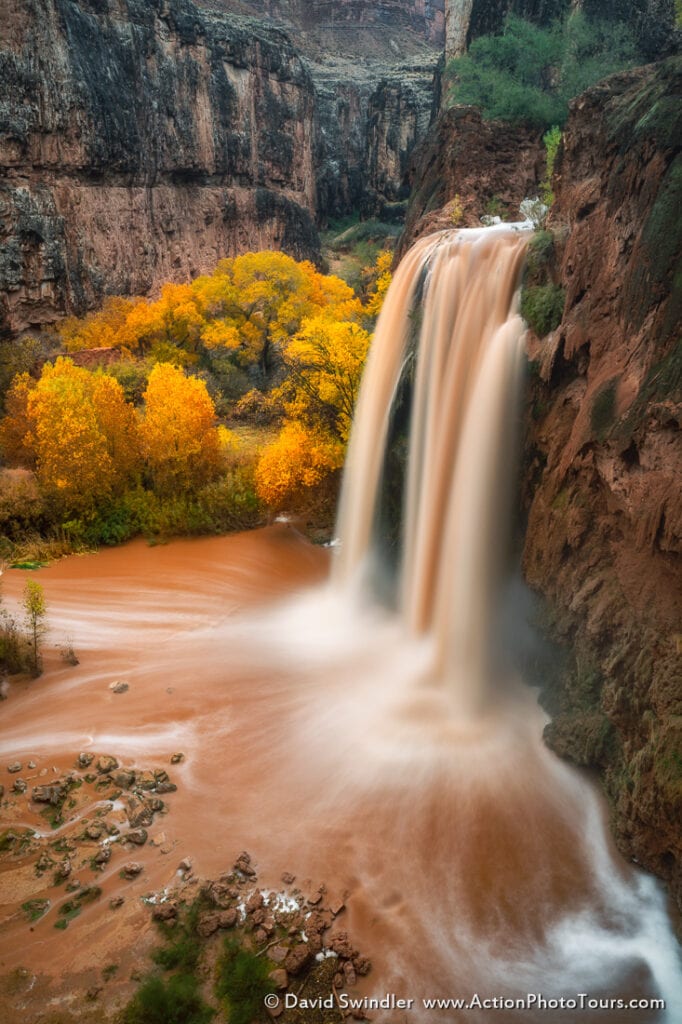
Simplicity is key to successful landscape photography. It is often an excercise in subtraction – what can you remove from the scene to make it easier for the eye to lock onto the subject? Many times, less is more and so many landscape photos just contain too much “stuff.” In the video I discuss many techniques for creating more simplicity in your shots. One of these techniques is to use a long shutter speed. That is what I did in the shot below to smooth out all the distracting ripples in the pool below.
In this article I’m only scratching the surface of all the techniques we discuss in the video. Make sure you watch it! And we hope to see you in the Southwest on an upcoming tour or workshop.
Learn more here: https://actionphototours.com/utah-arizona-photo-workshops/