
Better than golden hour? Photographing Twilight
In the world of photography, golden hour gets all the praise. Warm side light and colorful clouds at sunset may make for dramatic photos, but don’t put your camera away when the color fades. Often, the most interesting time of day can happen after the sun has set. This period of time is called twilight or blue hour.
What is Twilight?
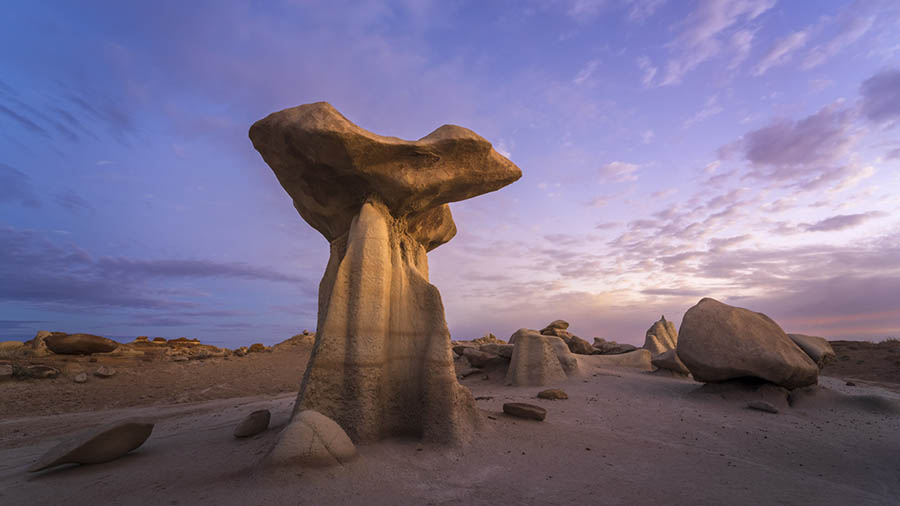
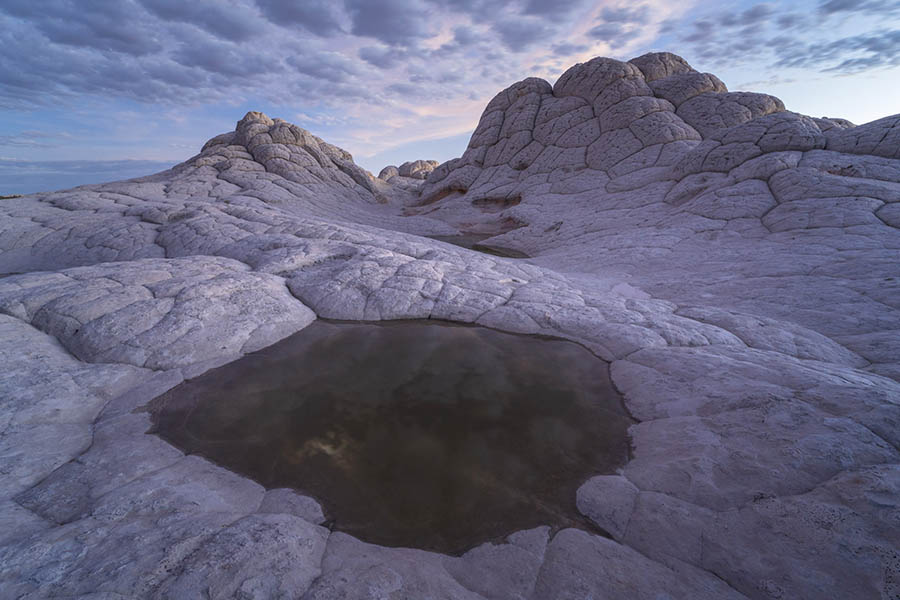
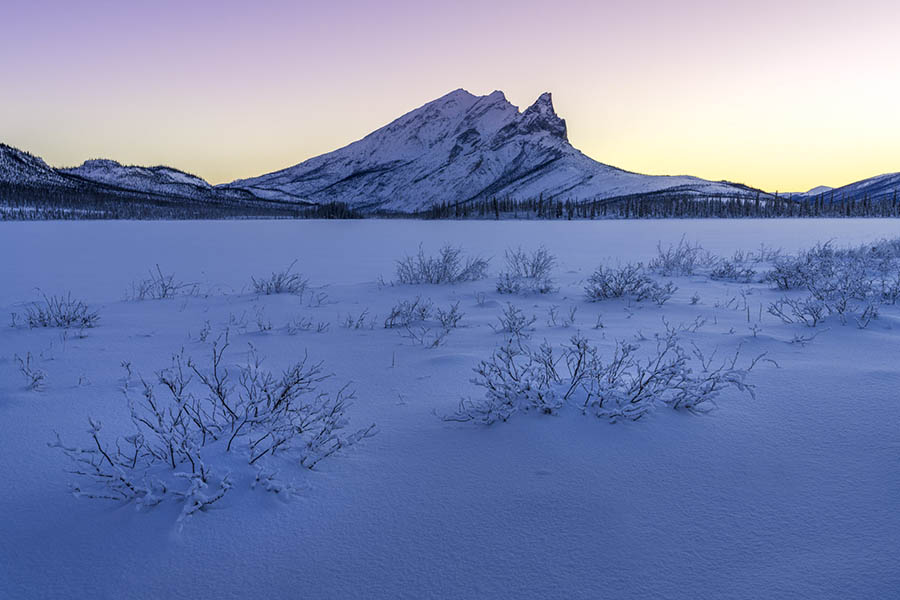
Strictly speaking, twilight is the period between night and day when the sun illuminates our only atmosphere, not the landscape directly. Assuming there is no cloud interference, high-frequency blue wavelengths of light are broadly scattered, painting the landscape with a blueish hue, which is why this is sometimes referred to as blue hour. This effect is particularly pronounced in places with reflective terrain, such as the sandstone of the desert southwest or any area where there is fresh snow. For photography purposes, this is a magical time of day when the visible light is very soft and has an almost dream-like quality.

Twilight is broken up into 3 parts: Civil, Nautical and Astronomical.
Civil Twilight starts once the center of the sun is between zero and six degrees below the horizon. This is when that soft light starts filtering through and illuminating the landscape. This is also the time when the Belt of Venus comes into view. Now is the time to start shooting.
Nautical Twilight starts once the center of the sun is between six and twelve degrees below the horizon. At this point, the brightest stars and planets become visible to the naked eye. The end of nautical twilight marks the end of that beautiful soft light. At this point, only the horizon will be visible, and any features will be too dark to photograph.
Astronomical Twilight is the period when the sun is between twelve and eighteen degrees below the horizon. The sky is nearing complete darkness at this point, and any landscape photography comes to an end. This entire process happens in the opposite order during sunrise.
The Belt of Venus:
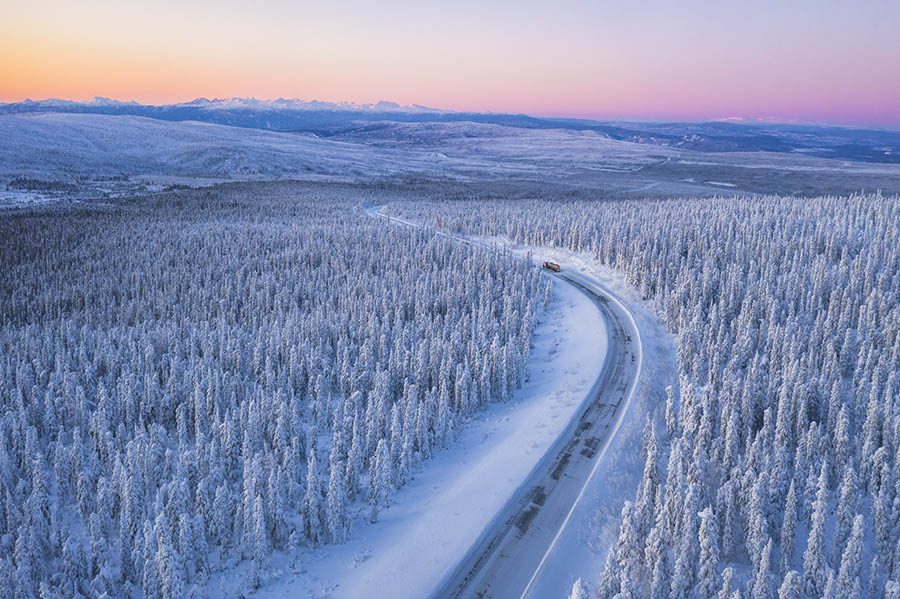
Perhaps one of the most beautiful parts of twilight is witnessing the The Belt of Venus. This is the pinkish glow that hovers above the horizon directly opposite from where the sun has set. This glow happens when sunlight is scattered among high-altitude particulates in our atmosphere. Even on cloudless mornings and evenings, the color gradation of the Belt of Venus ensures there is still something interesting in the sky. Sometimes, a landscape can be so complex that a cloudless sky with the Belt of Venus can help balance out the composition.
Tips for Shooting Twilight Landscapes:
1. Use a tripod. In order to photograph twilight, you’ll need a tripod. This is because exposure times need to be much longer to allow enough light into the camera. During the initial stages of twilight, shutter speeds might be around 1/10th of a second, and at the end of twilight they will be closer to 20 or 30 seconds. I always use a timer or remote shutter to ensure I’m not introducing any camera shake into the photo. Be careful not to include features that could move and cause blurring during these long exposures.
2. Shoot at an angle. When photographing twilight, it’s always best to be shooting at an angle to where the sun has set. This allows the soft light to provide definition to the landscape that is absent when shooting directly into or away from where the sun has already set. It is important to remember this when pre-visualizing blue hour shots.
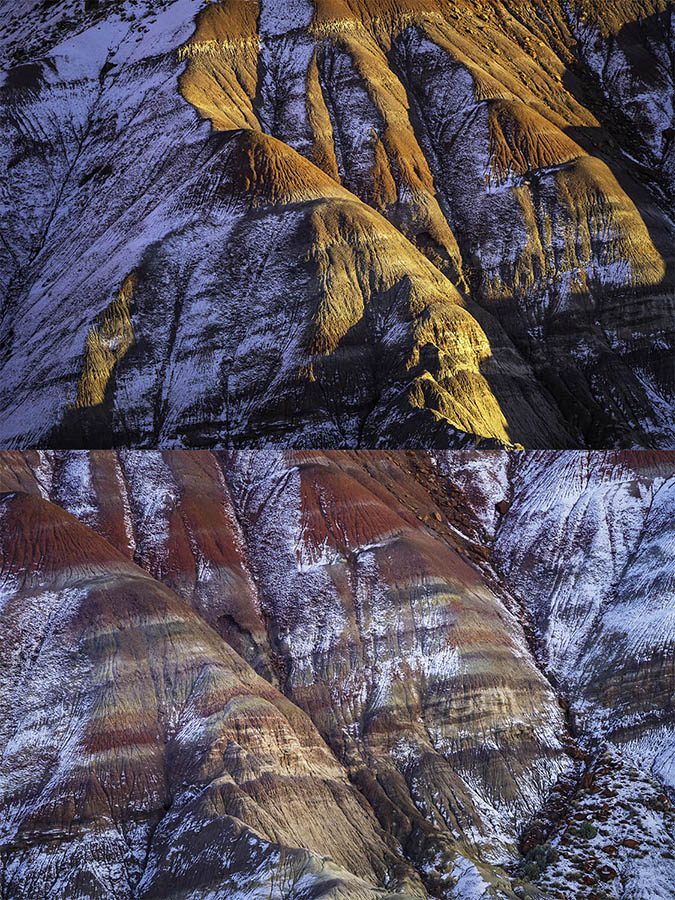
3. Focus on the colors. Twilight often reveals colors and subtleties in the landscape that are obscured by the direct light of sun during broad daylight. This is a perfect time to zoom on on patterns, colors, and textures that might otherwise go unnoticed.
4. Wait for the right moment. The best light doesn’t start immediately after the sun has set. Depending on your geographic latitude, you’ll need to wait between ten and twenty minutes after sunset for the soft light to appear. This down time during the transition from golden hour to twilight is a good opportunity to refine your composition. The best shooting for twilight lasts around twenty minutes.
Conclusion:
In a world of warm tones and color palettes, the blue hour can provide a refreshing change of mood to your portfolio. The next time you’re out shooting, remember that sometimes the best light comes after the sun has gone down.