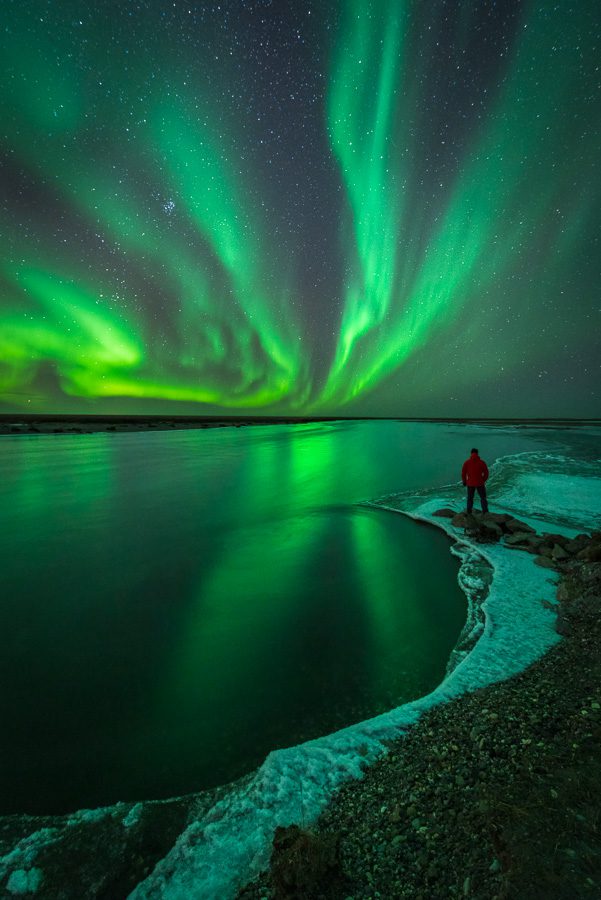
How to Photograph the Aurora Borealis
Watching the aurora borealis as it dances across the sky is both mesmerizing and spectacular. Being able to photograph it effectively requires specific skills. During this talk, David Swindler will give you the tools to capture your best aurora shots, covering topics such as forecasting, gear selection, in-field technique, and post-processing. Watch the video below and get ready to start photographing the amazing Northern Lights!
Capturing the Aurora Borealis from B&H Event Space on Vimeo.
What is the Aurora Borealis
During periods of higher solar activity, many charged particles are thrown from the sun’s atmosphere and travel outward by the solar wind. Most of these charged particles are deflected by Earth’s atmosphere. But at the poles, the magnetic field is weaker and some particles enter the atmosphere and collide with gas particles (usually oxygen and nitrogen). These particles collide with oxygen and nitrogen atoms in the atmosphere causing them to become “excited”. When these excited molecules return to their ground state, they release a photon of light that is visible as aurora.
Borealis simply means “Northern.” Aurora from the Southern Hemisphere is known as Aurora Australis. The different colors result from the altitude of the emission and the type of molecule that was excited.
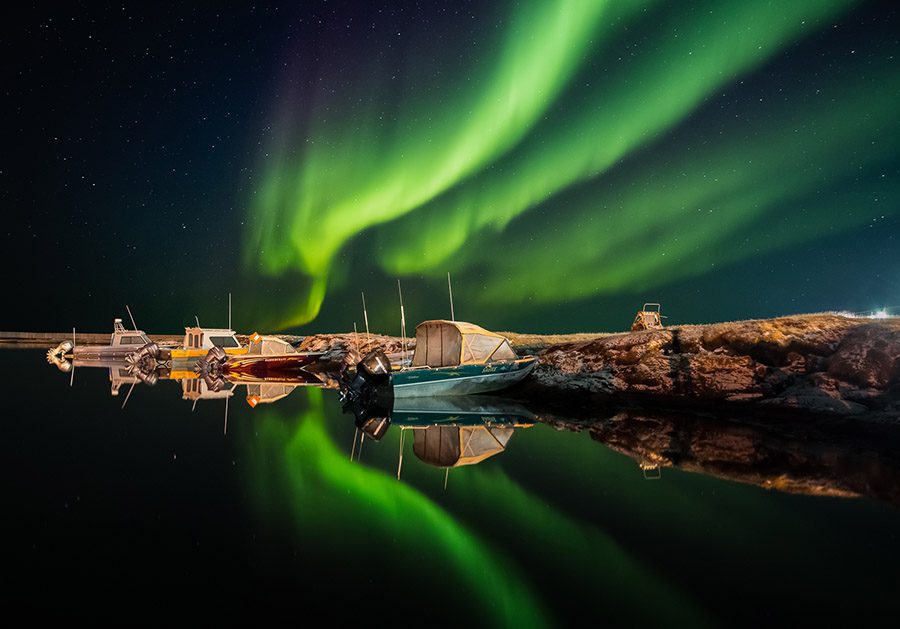
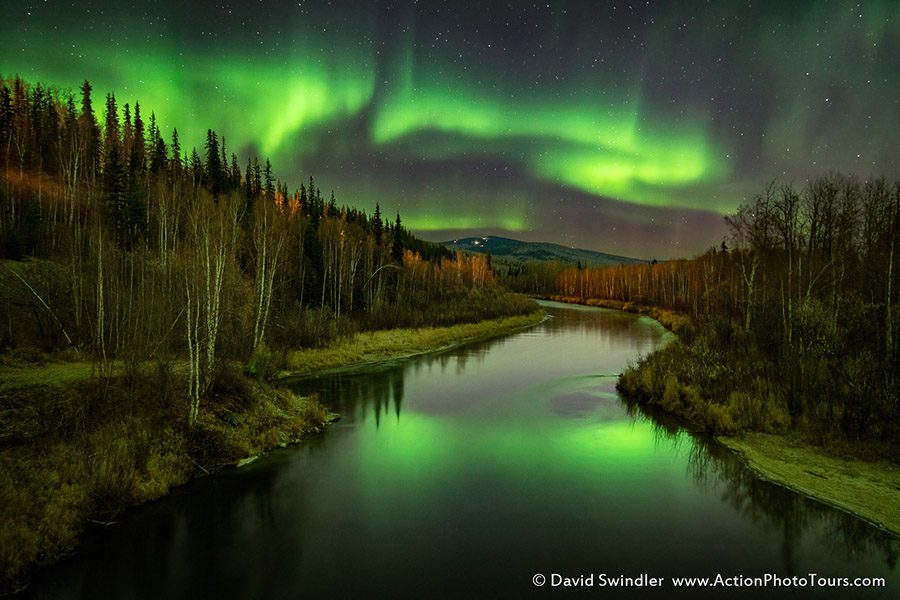
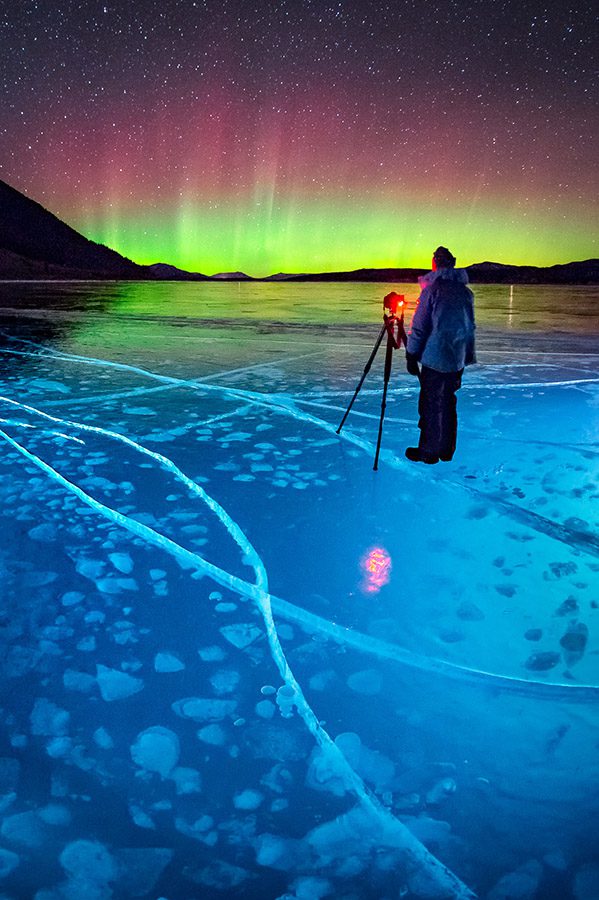
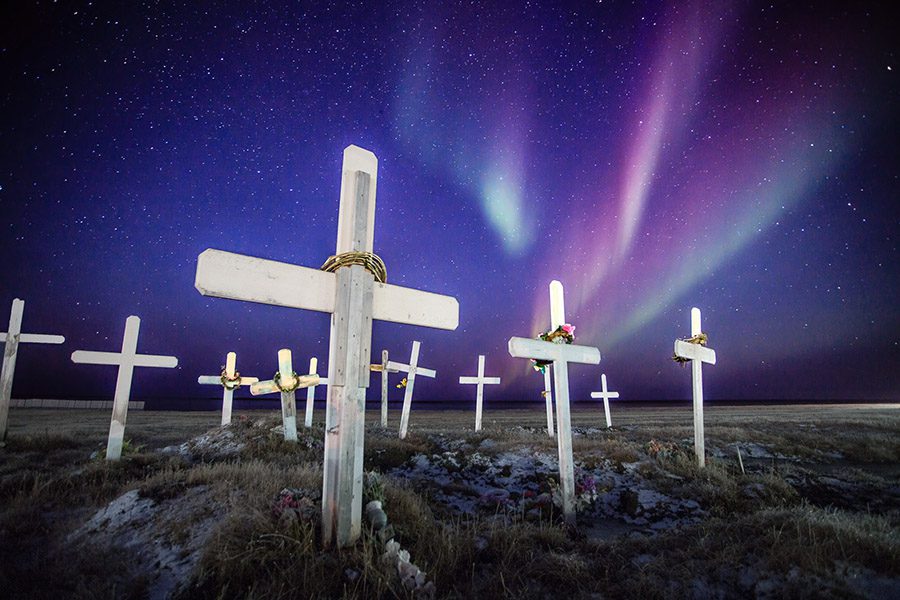
Green is most common and comes from Oxygen Molecules at ~60 miles above the Earth’s surface. Red is the higher altitude emission from Oxygen (~200 miles above the Earth’s surface). Nitrogen produces blue or purplish-red auroras and is much less common.
When to See the Aurora Borealis
The best time for aurora viewing is +/- 1 month from the vernal and autumnal equinoxes. That is when the inter-planetary magnetic fields are best aligned, allowing charged particles to more easily enter our atmosphere. The best dates in the Spring are from Feb 21 – Apr 21 and in the Fall from Aug 21 – Oct 21.
You need dark skies to be able to see the aurora. In Northern Latitudes, it may not get dark enough at night during the late spring, summer, and early fall months. The Northern Lights can still be photographed at blue hour or with bright moon, but it is much more difficult to appreciate with the naked eye.
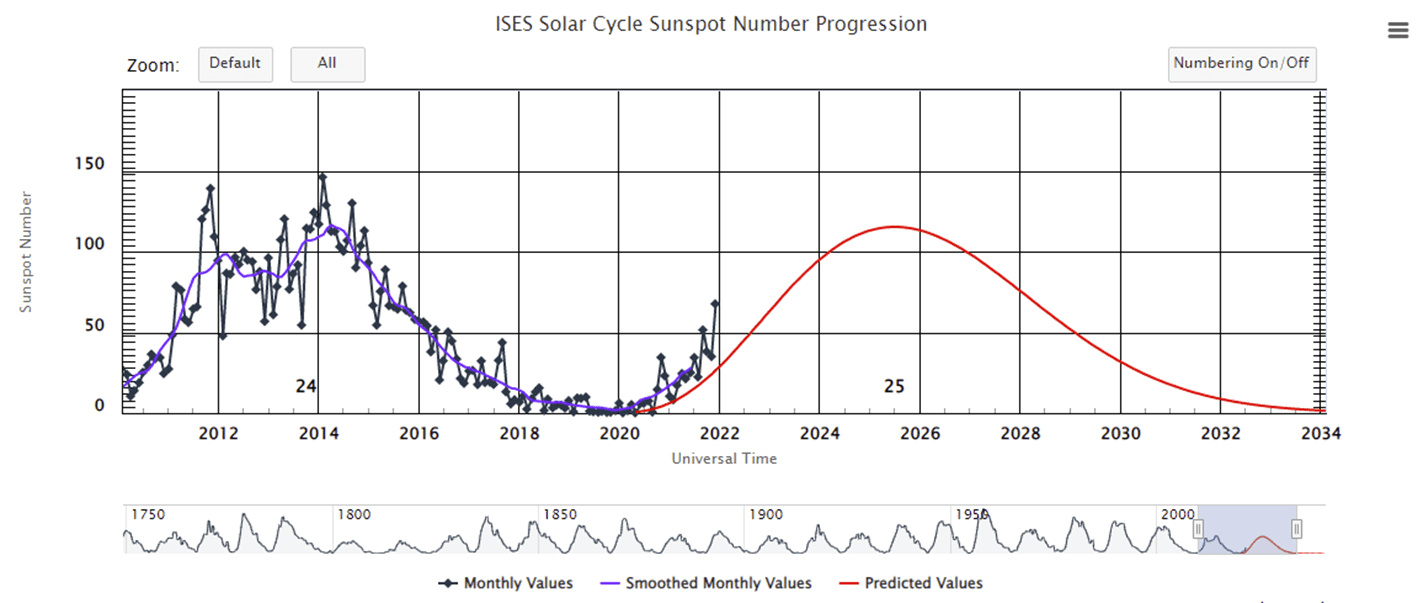
Solar Cycles and Magnetic Midnight
Solar cycles last around 11 years and cycle between low and high sunspot activity. 2011-2014 was the last solar maximum. We are moving back towards another solar maximum in around 3 years, with the peak predicted in 2025.
The aurora can happen at any time of day or night. Obviously, we can’t see it during the day! Aurora is more likely to occur near magnetic midnight, which in the US is approximately one hour before actual midnight due to the 11° offset between the rotational and magnetic axis. From my experience, the best time in the US/Canada is usually from 11PM-1AM. Auroral activity can surprise you – the best way to capture it is to patiently wait!
Forecasting the Aurora
Kp: A measure of geomagnetic activity in Earth’s Atmosphere. This is an important metric to see how far south the aurora may be visible.
Bt: The strength of the interplanetary magnetic field (IMF) carried by the solar wind. A higher number means a more significant disruption to Earth’s magnetic field.
Bz: The orientation of the IMF. Positive means North and Negative means South. The best aurora in the Northern Hemisphere occurs with large negative numbers. A positive Bz would mean the particles are easily deflected by Earth’s magnetic field. Negative Bz means particles can pour into the upper atmosphere at the poles.
Good Websites for Forecasting:
- Space Weather Prediction Center
- SpaceWeather.com
- Alaska Geophysical Institute
- Our Favorite App: My Aurora Forecast
Shooting Overview
Remove any filters from your lens (includes UV filters). Switch to Manual Focus and Turn off any lens IS/VR/OS. Find your desired comp and focal length. Turn off LENR. Select your shot settings depending on the brightness of the aurora. Manually focus on a bright star or planet. Take your first shot and look at the RGB histogram. Make sure the green color is not close to clipping on the right side. Adjust your exposure up or down by modifying either the ISO or the shutter speed.
When shooting at night, the camera needs to capture as much light as possible. Thus, large apertures are needed (small f-stops).
In general, most of your aurora shots will be around ISO 1600-3200. Increase it to ISO 6400 for dim, distant, or fast moving displays. For really bright aurora, you may need to go down as low as ISO 400 to avoid clipping the green channel. ISO is the best tool for increasing or decreasing your exposure.
Your shutter speed will depend on several factors:
- Brightness of the Aurora
- How Dynamic the Aurora Is
- How Much Moonlight You Have
- Whether or Not the Sky Is Completely Dark
- How Comfortable You Are With Increasing Your ISO
With active aurora displays, too long of a shutter speed will blur the movement. Shorter shutter speeds will allow you to capture the unique shapes and curtains. Make sure you watch the video at the beginning for specific examples of shutter speed and aurora movement!
Rules of Thumb:
- Very Active Aurora: 0.5s-2s
- Semi Active Aurora: 2-8sec
- Less Active Aurora: 8-15sec
Post-Processing and Landscape Inclusion
In the video I discuss several ideas for how to include higher quality landscapes in your aurora shots. I discuss why you don’t want to shoot both landscapes and sky at the same settings and some practical ways to combine them. Make sure you watch the video and see the side-by-side results!