
Boise Inversion Star Trails
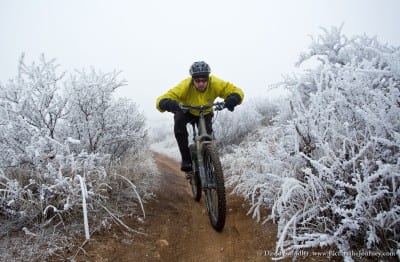
For the past couple weeks, Boise has been socked in by a heavy inversion. This occurs when cold air in the valley is unable to escape and fog/pollution accumulates. This typically happens every January since the Winter days are short and the sun angle is too low to help clear it out. Since we haven’t had any snow for awhile, I’ve been able to get out mountain biking. It’s fun riding during an inversion since you get to pass through three distinct layers: Everything is grey and cloudy when you start. Next, you hit the cloud level and it turns into a Winter wonderland with hoarfrost covering all the plants (see shot on the left). Finally, you break through the top and it’s sunny and warm. One day while I was above the inversion, the thought occurred to me that these low clouds could reduce light pollution coming from the city. This in turn would allow me to do some night photography near Boise.
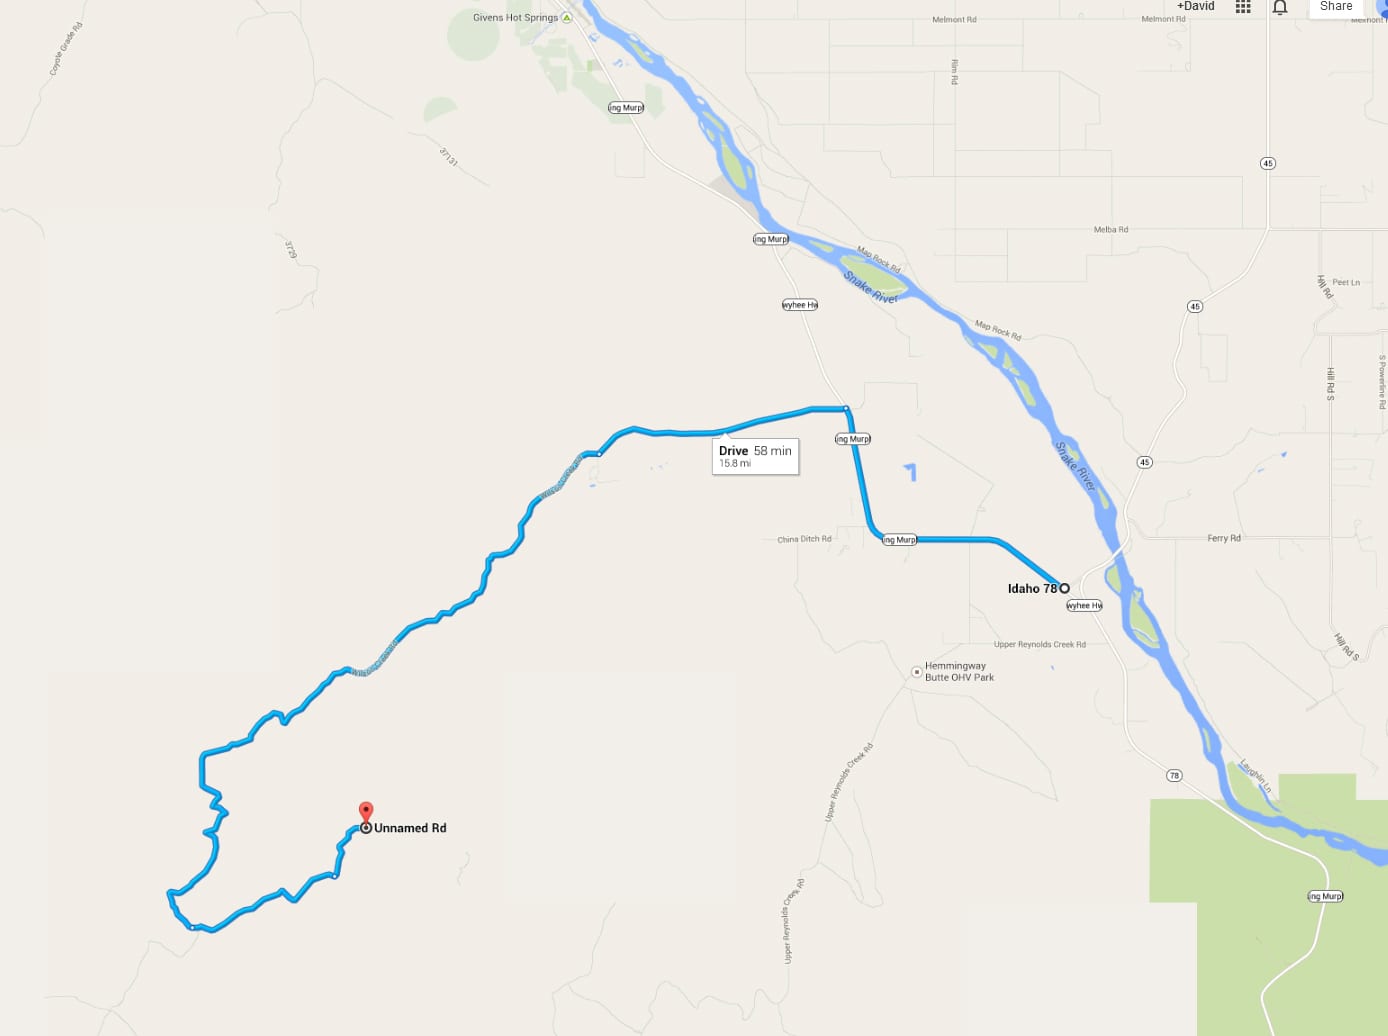
I decided to put this theory to the test. I picked a place called Wilson Peak. It’s located just a few miles South of Nampa in the foothills of the Owyhee Mountains. This peak was just high enough to get over the top of the inversion. In addition, it afforded great 360-degree views over the valley. To get there, head south on Hwy 45 until you get to the Hwy 78 junction. Go North on Hwy 78 until you get to Wilson Creek Road. Follow the road for several miles as you steadily climb. Eventually, you’ll get to a junction with a BLM Travel Management sign. Take the double track road to the left and bear left at any subsequent junctions. Soon you’ll be at the summit of Wilson Peak (see map above). The last mile can get pretty rough, so you may opt to hike the last bit if your rig can’t handle the terrain.
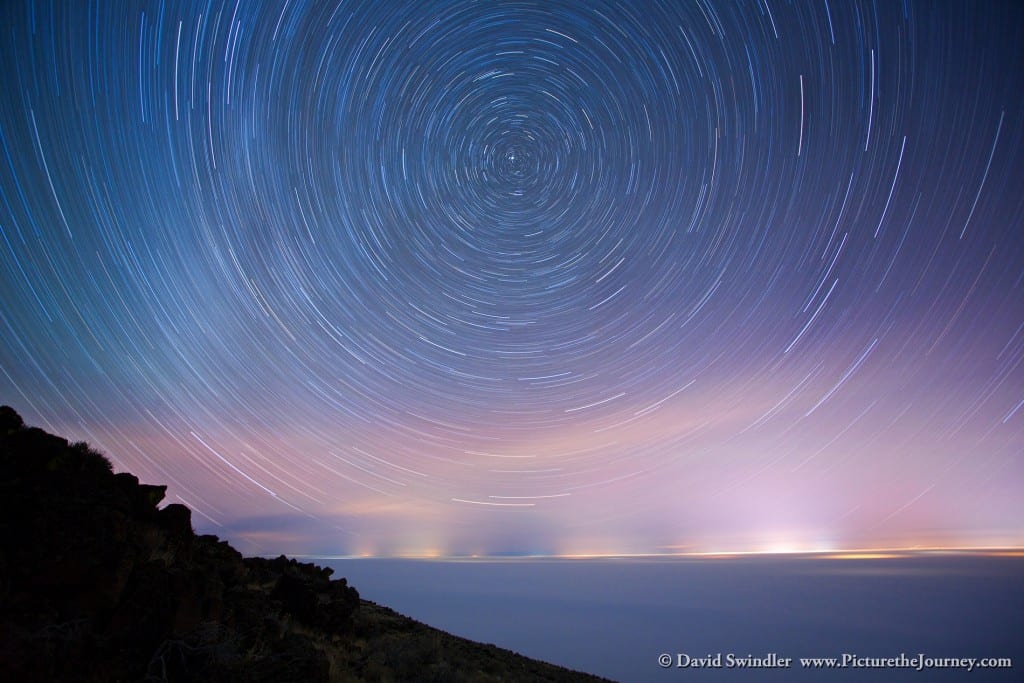
We got up to the summit about an hour after sunset. We did a few test shots and found that it would be possible to get star trails overlooking the city! The shot above was taken looking North over the Treasure Valley. By placing the North Star right in the center of the image, I was able to get nice concentric rings. Amazingly, the city lights were not too bright and you can even see some stars down low on the horizon. I thought the night skiing lights from Bogus Basin might pose a problem, but they didn’t. Instead, the city lights produced neat vertical bands of light that helped make the picture more interesting.
The picture above was taken looking to the South. As you can see, the direction you face makes a big difference in the shape of the star trails. Normally, I don’t recommend facing South for star trails except during the Winter. This is because from March-Oct, the bright part of the Milky Way becomes visible to the South and creates very “murky” looking star trails.
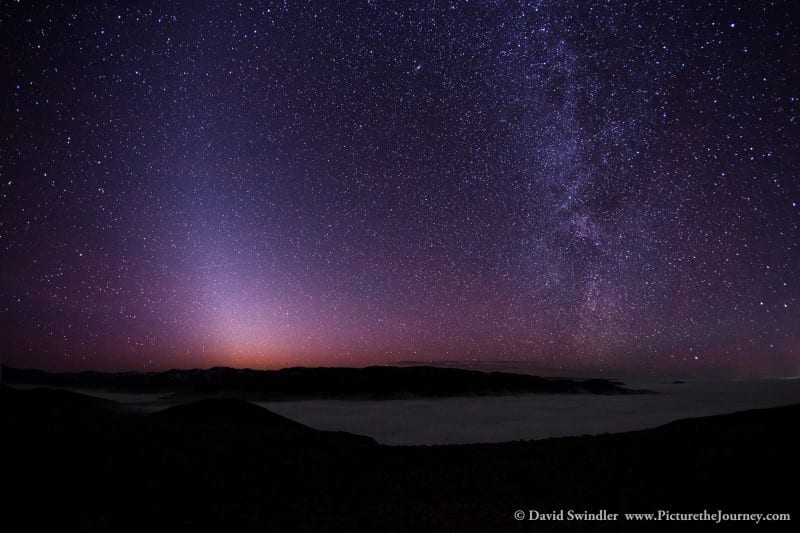
This shot was taken looking to the West. You can see the Northern end of the Milky Way on the right. There was an odd band of light on the left and we couldn’t figure out where it was coming from. When I looked at the map after I got back home, I figured it had to be light pollution from the small town of Jordan Valley, Oregon. Sometimes light pollution can create neat effects with night photography – especially with the colors it can produce. Since Jordan Valley is so small, I figured it must not have been hemmed in by inversion, thus making it much more visible.
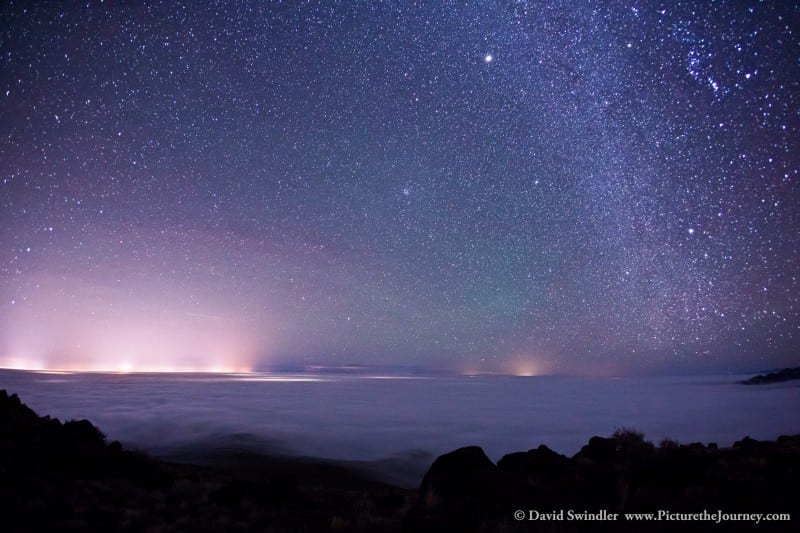
Since I promised you 360-degree views, here’s a shot looking to the East. Light pollution from Boise created some neat magenta and green colors. At times, it was challenging to get good shots since there were so many airplanes flying around. I just had to be patient and wait for the airplanes to clear out. Paying attention to this can save you a lot of time in post-processing!
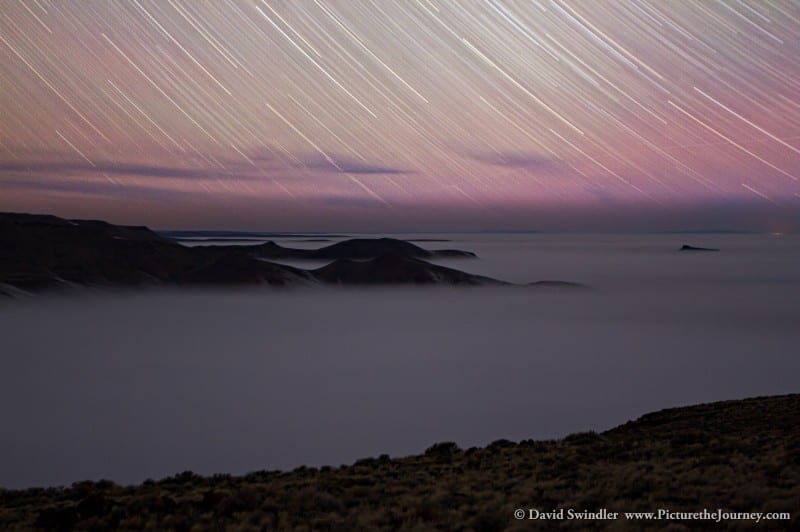
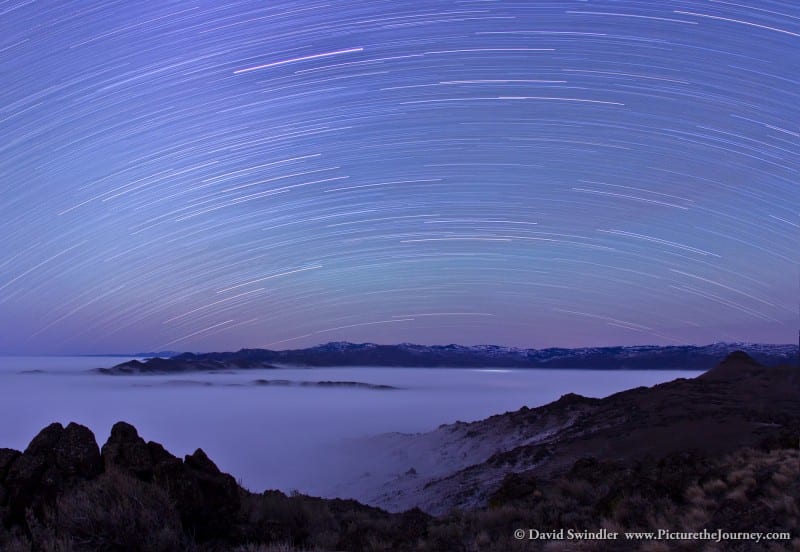
You also don’t need to wait until complete darkness to take star trail images. This 30-minute exposure was taken about half an hour before astronomical twilight (i.e. complete darkness). Since this shot was taken to the West, you can see some of the color from the sunset but it wasn’t too much light to overpower the stars.
If you want to try shooting star trails, here are a few of my tips:
- You need a clear night with low levels of light pollution.
- Pay attention to the moon. The moon can help illuminate the foreground but it can overpower the stars if it’s more than one-quarter. The shots shown above were taken with no moon.
- Buy a cheap intervalometer for your camera (~$20 on Ebay). This will allow you to do long exposures.
- Set your aperture to around f4 to f5. If you go much lower than that, the image might get too bright on longer exposures.
- For exposure time, it’s a function of several things: First, the wider-angle you use, the longer time will be required. Second, if you’re facing North, you’ll want a longer time compared to shooting in other directions (the stars aren’t moving as fast towards the North). Third, the time depends on how long you want your trails to be. Personally, I’m not a fan of shorter trails (10-20mins) since I think it makes the image look blurry. I usually do 30 mins up to 2 hours depending on my focal length and direction.
- Manually set your focus. Before you go out, check your lens during daylight and find the spot where distant objects are most sharp. Most people assume this is at the infinity setting, but I’ve found that many of my lenses are sharper below infinity.
- Do a test exposure at high ISO. For example, if I’m going to do a 60-minute exposure at ISO 200, I’ll shoot a 2-minute test shot at ISO 6400 (roughly equivalent to 60-minutes at ISO200). If it’s too bright, I’ll increase the f-stop a little bit and try again. If it’s too dark, you can always decrease the f-stop or lengthen the exposure. I recommend using ISO 200 for star trails since it will pick up more stars compared to ISO 100.
- Turn on long-exposure noise reduction. When the exposure is finished, the camera will take a second dark-frame exposure. Any digital noise from the dark frame will be removed from your star trail image. Make sure you have enough battery power to do 2x your exposure time! You don’t have to wait for the dark frame to finish. I’ll often pack up the camera while the LENR is processing.