5 Tips for Shooting Telephoto Lenses
Learning how to use a telephoto lens is an important skill. We see a lot of mistakes people make in the field and it ends up impacting their ability to get sharp shots. In this informative video, David Swindler shares his must-know tips on how to use long telephoto lenses for outdoor photography, from landscapes to wildlife to portraits. You will learn how to choose a telezoom lens, how to hold one, how to balance a telephoto zoom lens on a tripod, what kind of settings to use, and more!
- 0:00 Introduction
- 0:41 Choosing the Right Telephoto Zoom Lens
- 2:12 Holding a Long Lens
- 4:09 Balancing a Telephoto Zoom Lens on a Tripod
- 8:36 Using the Lens Hood
- 9:36 Getting Creative
- 10:47 Final Thoughts

Tip #1: Get the Right Lens
Too many people show up with lenses that aren’t the right fit for what they want to do. In the landscape and wildlife world, a 70-200mm lens is often just too short and has a limited zoom range. Using a tele-converter isn’t the answer either since it takes time to put on, degrades the optical quality, and reduces the amount of light coming in. Instead, a lens like the 100-400mm will work much better.
The big super-telephoto prime lenses are also not ideal for most people. They are heavy, expensive, and difficult to travel with. The best lens tends to be the one you’ll have with you. The one-stop faster aperture advantage these lenses offer is not as important these days since camera sensors are performing so well at higher ISO speeds.

Tip #2: Handholding
When handholding your lens, make sure you turn on your Image Stabilizer or Vibration Reduction setting in Mode 1 (stabilizes in both X and Y). Shoot in a continuous burst mode and take 2-3 shots each time in case one of them is soft. Make sure you utilize the 1/x rule and keep your shutter speeds faster enough to eliminate hand shake. For example, if you are shooting at 200mm, you’ll need to be at least 1/200th of a sec or faster. Using the Auto-ISO setting on your camera can make it much easier to ensure you stay within the 1/x rule.

Tip #3: Using a Long Lens on a Tripod
We see so many mistakes people make when trying to shoot a long lens on a tripod. They often attach it from the camera base, which makes for a very off-balance and shaky setup. In the video, we show why you should use the lens foot to attach the camera to the ballhead along with why you should replace your factory lens foot. Another mistake we often see is how people try to take a vertical shot from the tripod. We’ll quickly show you the power of the lens collar so you’ll never have to make this mistake again.
The next consideration is how to shoot a long lens on a tripod when there is no wind vs wind. We discuss all these particulars in the video and show you how to change your settings for a windy day or when it’s perfectly calm. The longer the focal length you shoot, the better your technique needs to be to ensure your shots are tack-sharp.

Tip #4: Use the Lens Hood
Using the lens hood is the best protection for your lens. You can throw away your UV filters as they don’t offer nearly the same protection for your glass. The lens hood reduces contrast-robbing stray light, resulting in better colors and detail. It also helps keep your lens clean from dust, debris, and rain/snow. But there are also times when you don’t want to use the lens hood. Watch the video clip below to learn more!

Tip #5: Get Creative
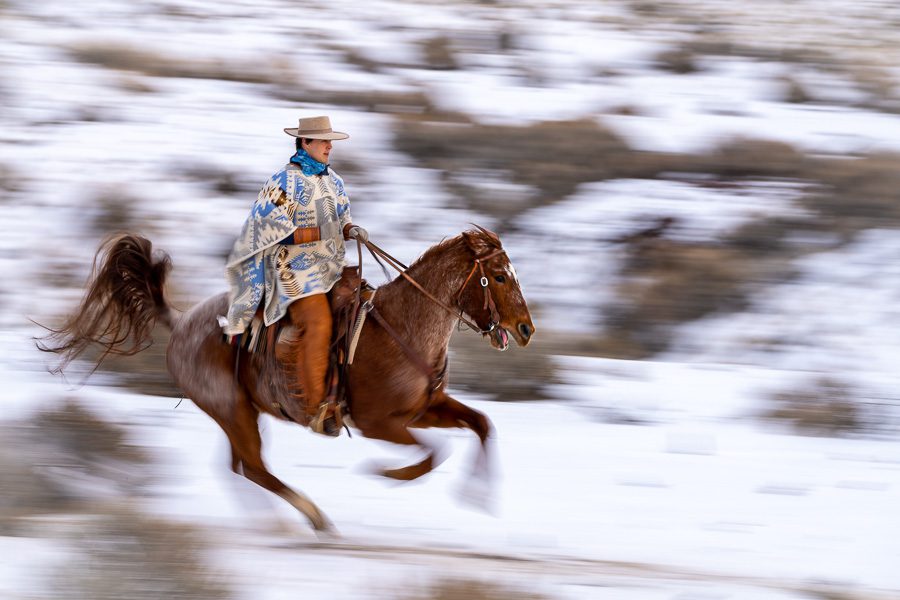
Many times we get stuck in a rut and shoot the same way over and over again. One of the ways we can get creative is to try and show motion in our shots with slower shutter speeds. In the video we talk about one technique called a pan blur, where we follow a moving subject and try to blur the background as we pan. To do this, we’ll shoot anywhere from 1/20th to 1/40th of a second and use the Image Stabilizer Mode #2. Watch the video to learn more:

