Paria River Canyon
The Paria River Canyon is one of the best hikes in the American Southwest. Over millions of years, the river has carved a deep chasm through the Navajo sandstone. The towering canyon walls and narrow passages are impressive to say the least. This is one of those places that are very photogenic, but it’s difficult for photos to really portray the true grandeur. You really have to hike it yourself to truly appreciate it. The standard route begins at the White House Trailhead near Utah’s Southern Border. It follows the Paria River 38 miles south ending at Lee’s Ferry. Most people take anywhere from 3-5 days. I recommend taking 4 days so you have plenty of time to take pictures! Another option is to start at Wire Pass Trailhead and hike through Buckskin Gulch (the world’s longest slot canyon). This adds another 5 miles to the distance. I highly recommend this option if you’ve never done it before. However, in this article I will just discuss the standard route. At the end of the article, I’ll share some resources and logistics to help you with the hike.
Click Here to View More Images From This Trip
Shortly after beginning your hike at White House Trailhead, you’ll be forced to get your feet wet. You’ll be primarily hiking in the river for the first couple days. It takes several miles before the canyon starts to deepen and narrow. Along the way, there are some neat sandstone “windows” and other erosion patterns.
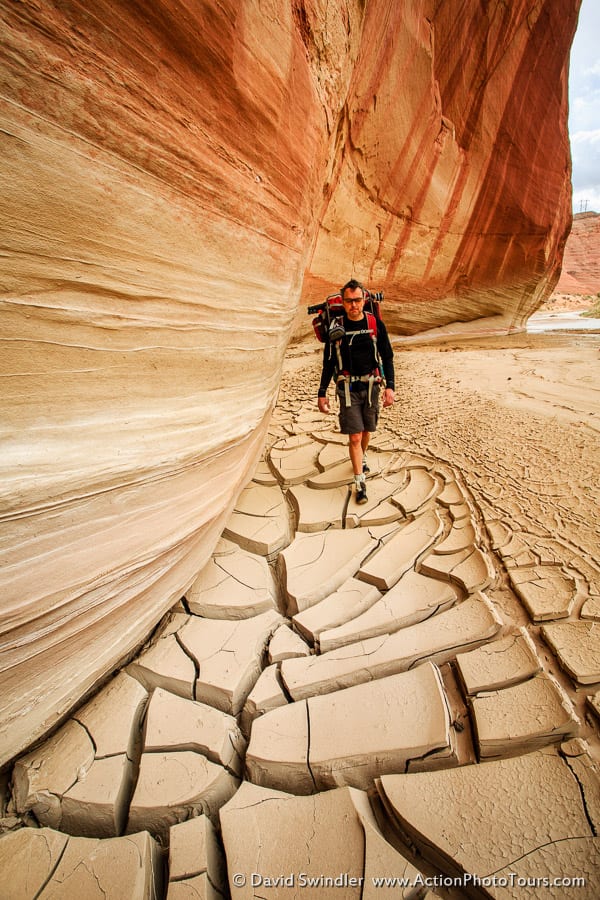
Be on the lookout for cracked mud near the sides of the canyon as it provides a great foreground for photos! There are also some petroglyphs along this section if you know where to look.
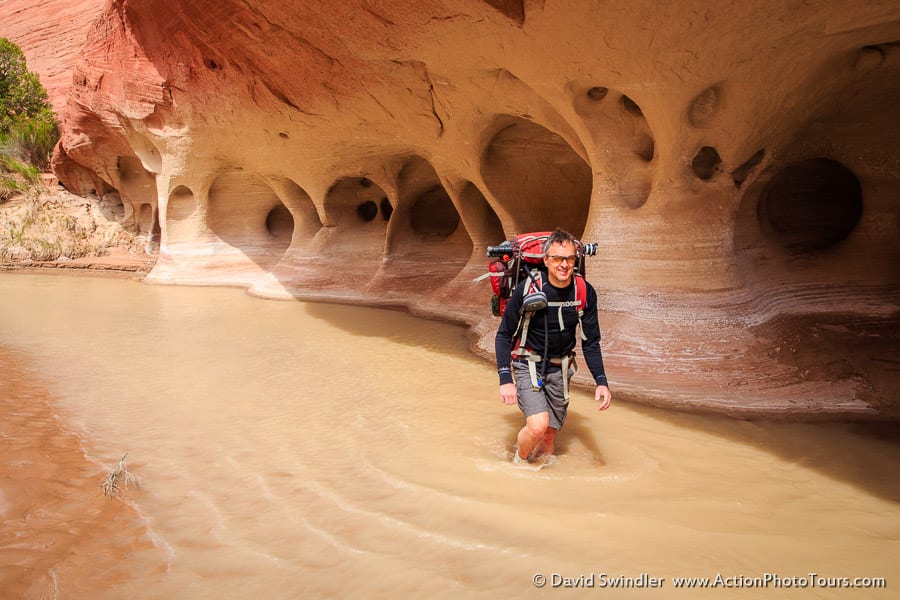
At around 5 miles, things start to get really scenic – you’ll be stopping a lot to take photos. I like to include people in the photos since it provides foreground interest when they’re near and shows how big the canyon is when they’re far away.

These erosion holes are one of my favorite places to stop for a photo.
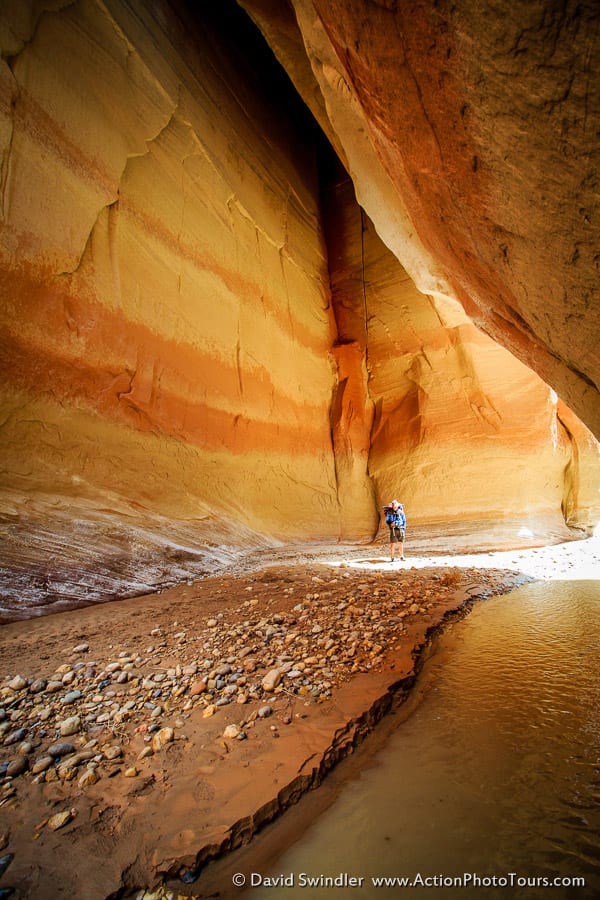
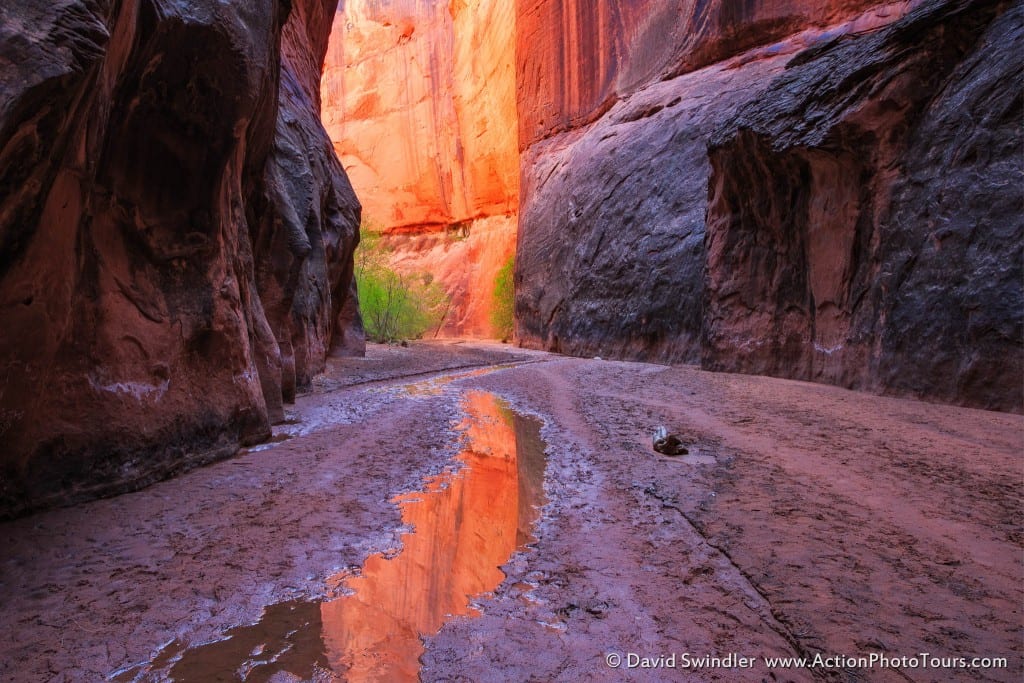
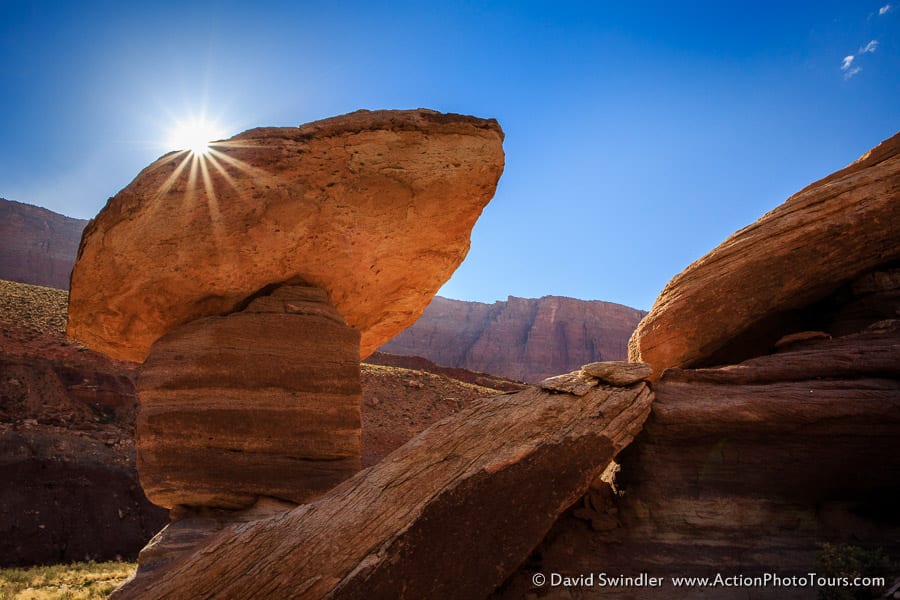
The above image is from Slide Rock. This is where an large chunk of undercut sandstone fell down directly into the river making an arched passageway. Depending on how dry it is, you may or may not have water here.
The light is best in the canyon at midday. Look for reflected light bouncing off the canyon walls and creating the brilliant golden glow. This is a self-portrait I took of myself. Since the human eye tends to navigate to the brightest spot of an image, I framed this shot so that the bright part was at the back of the canyon. Thus, it forces you to look all the way through the photo from front to back.
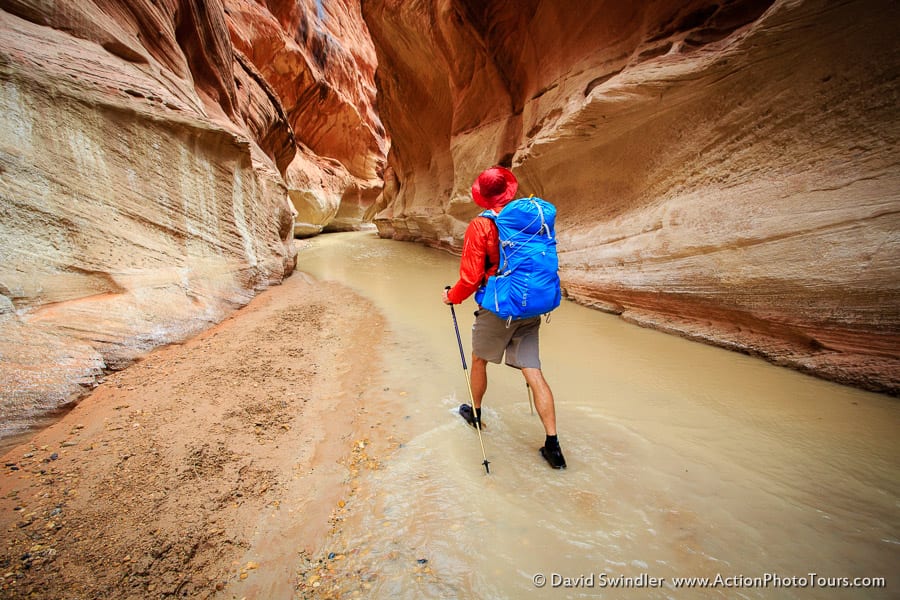
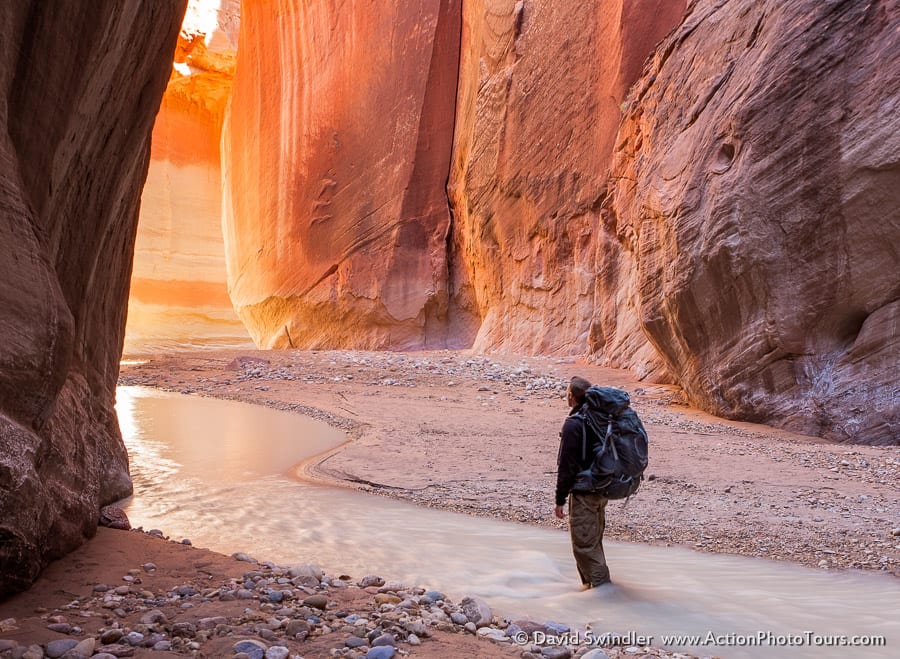
At the 7-mile mark, you’ll reach the junction with Buckskin Gulch. I highly recommend dropping your packs and hiking up Buckskin for a mile. You’ll get a good feel for this remarkable slot canyon and see some of the best scenery. The shot above is from the lower part of Buckskin Gulch as it begins to widen before the confluence.
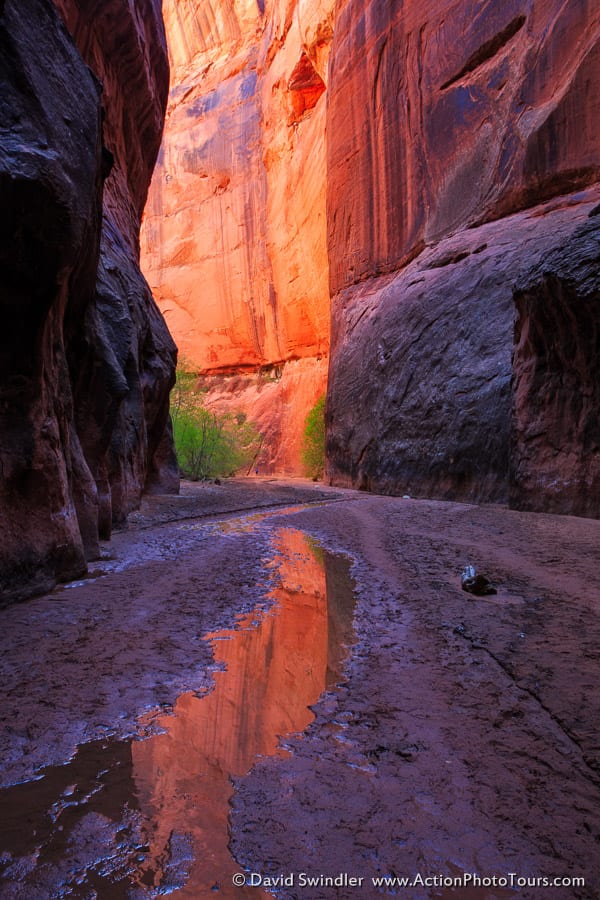
Below the confluence, the canyon narrows continue for many miles. Whenever the light is interesting, stop and take more photos!
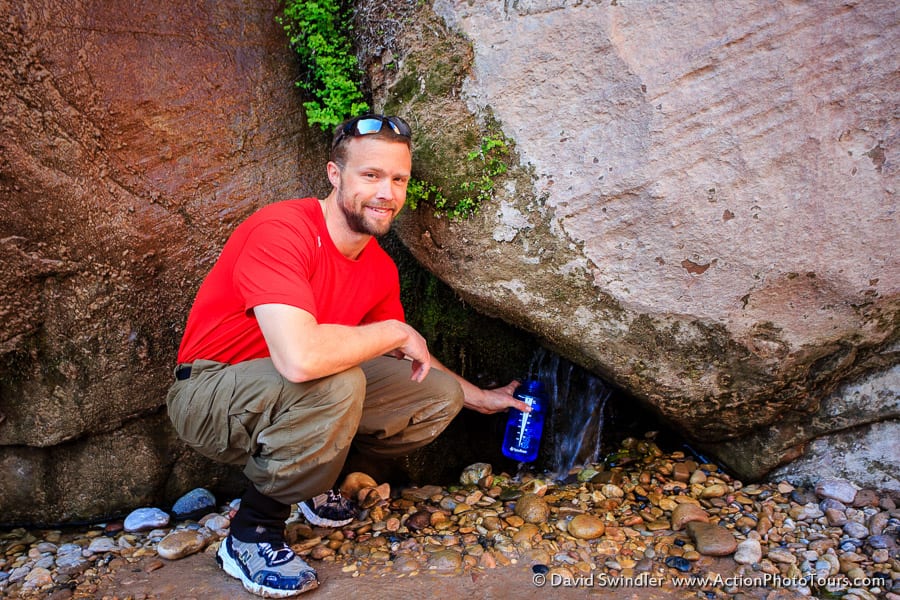
There are a number of fresh-water springs throughout the canyon. This one is called Wall Spring and there are many guidebooks and maps that will show you the location of the springs. That’s some good tasting water!

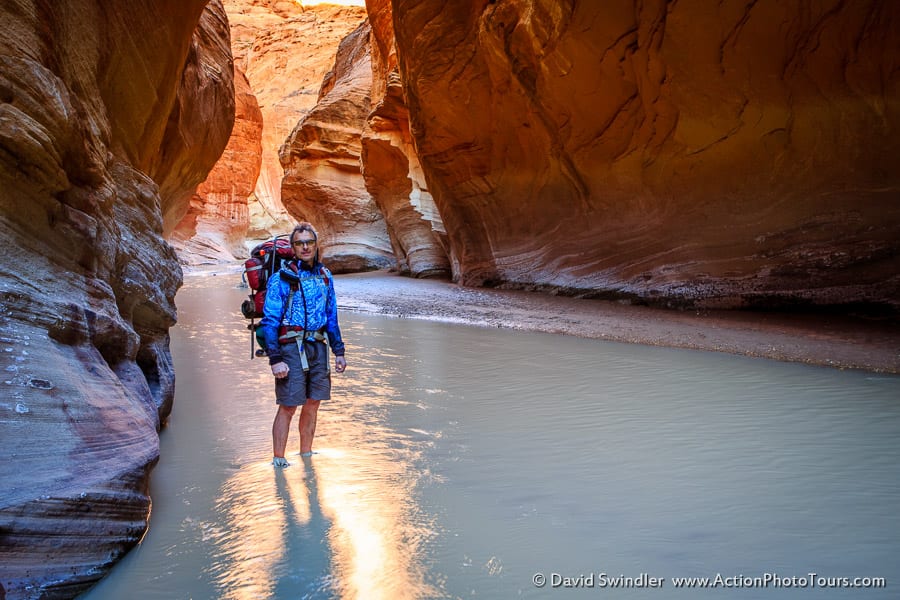
Another self-portrait showing how massive this amazing canyon is.
Click Here to View More Images From This Trip
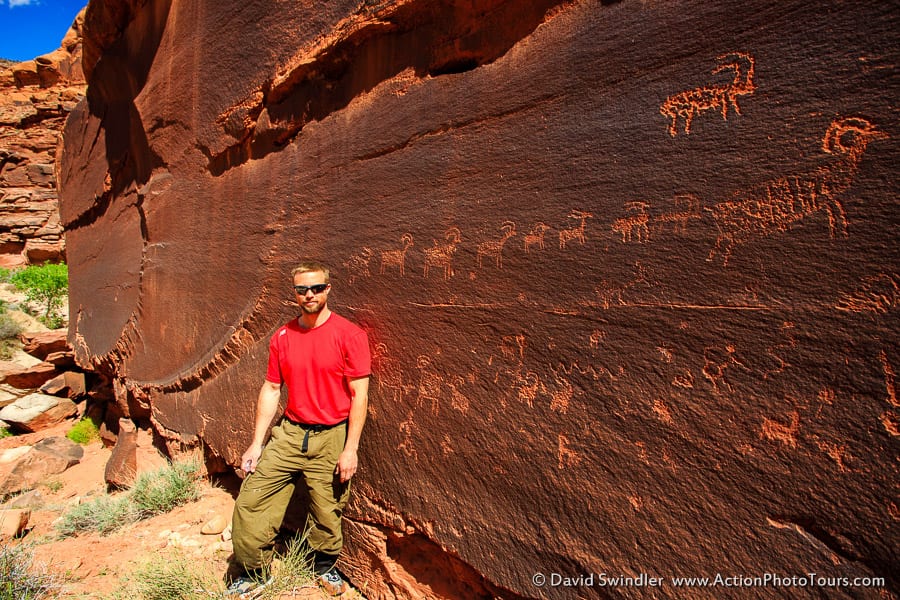
As you continue downstream, there lots of petroglyph panels you can look for. I recommend getting Michael Kelsey’s Paria River book if you want help in locating them. At around mile 20, there’s a nice side hike up to the massive Wrather Arch. There’s also spots where you can hike up out of the canyon for huge top-down views. Some of the routes even have old moki steps that were created by the Pueblo People. Click the link above to see more photos.
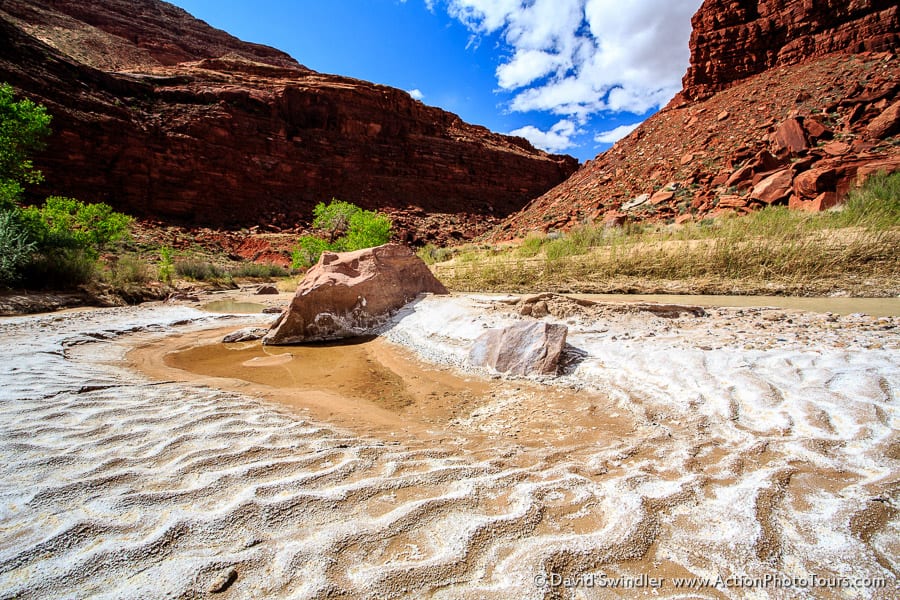
As you get into the lower part of Paria Canyon, the canyon really opens up and you’ll be mostly hiking along a trail. Keep on the lookout for neat formations like these sand ripples.
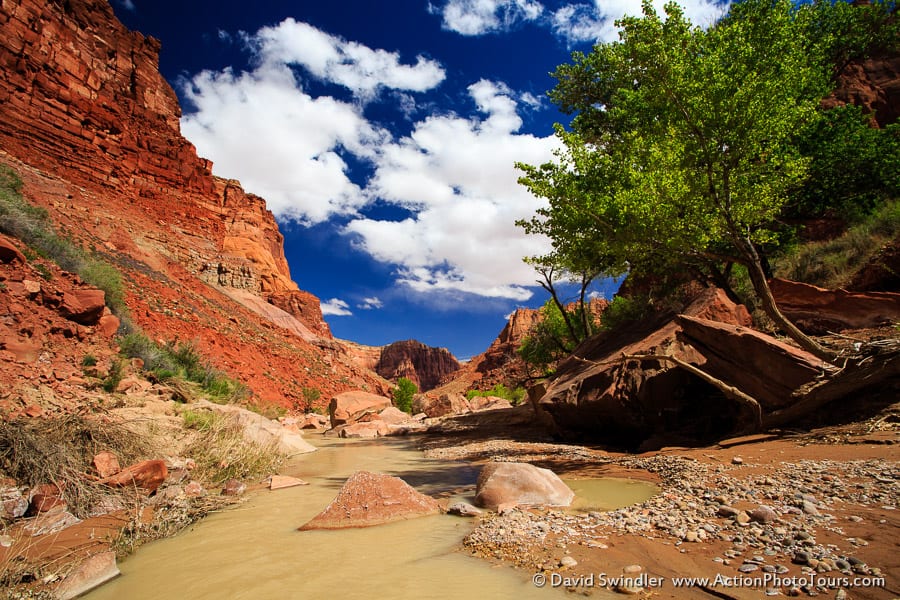
Shot of Lower Paria Canyon showing how much more open it is.
When you spot some mushroom rocks, stop and take some photos and look around for the Scorpion Rock. This rock is full of neat inscriptions and petroglyphs (click the link above to see it).
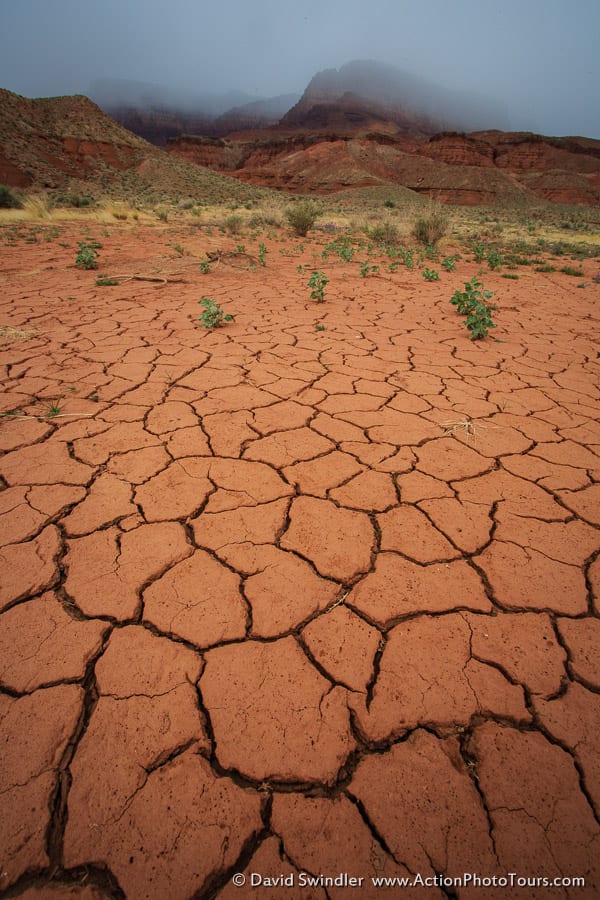
On our last night, a storm moved in and we got a light sprinkling of rain and lots of wind. I really liked this area of cracked earth near Lonely Dell Ranch with the ominous storm clouds in the background.
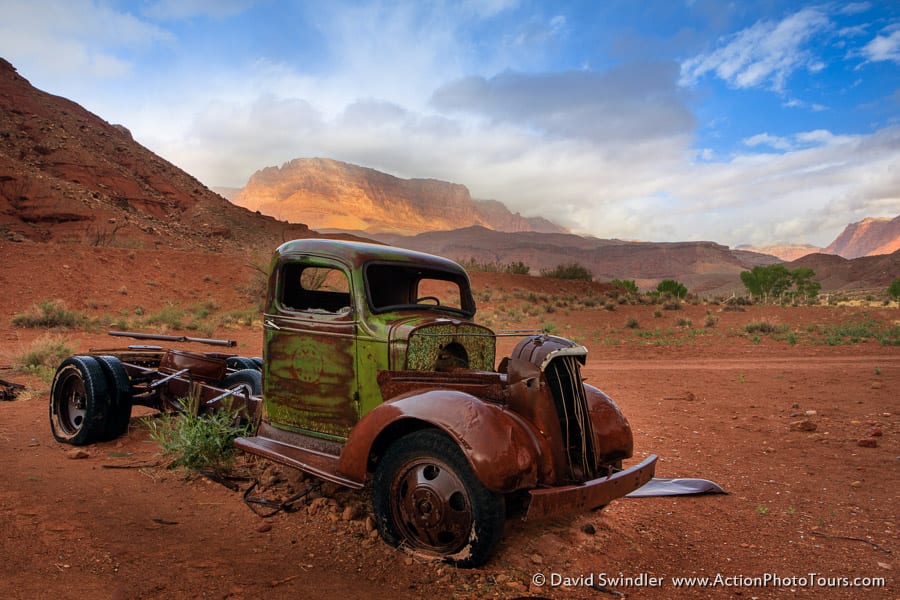
This old truck is near Lonely Dell Ranch. The storm was starting to abate and beams of light were hitting the background cliffs. Gorgeous!
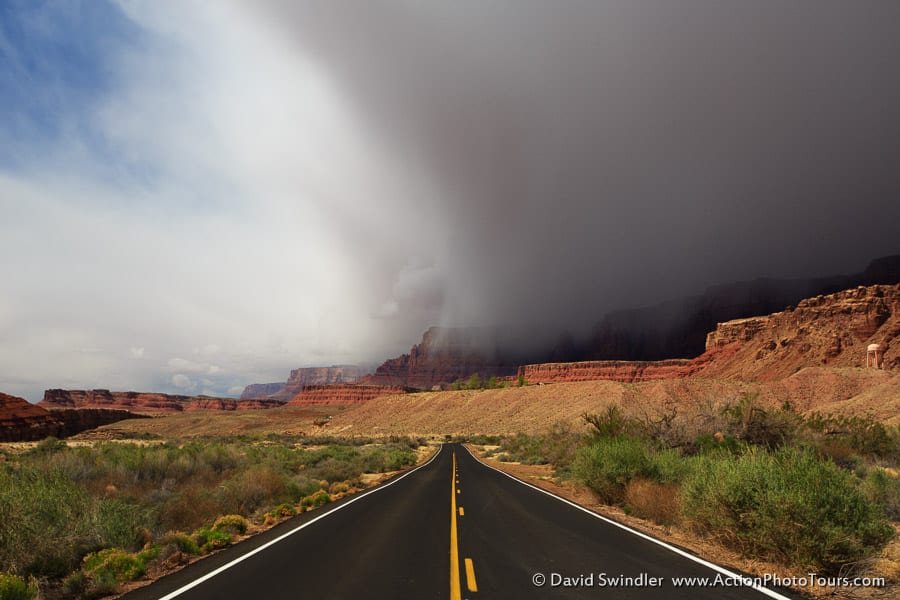
Once we made it back to Lee’s Ferry, I went out to the highway and took this shot as the storm was moving away.
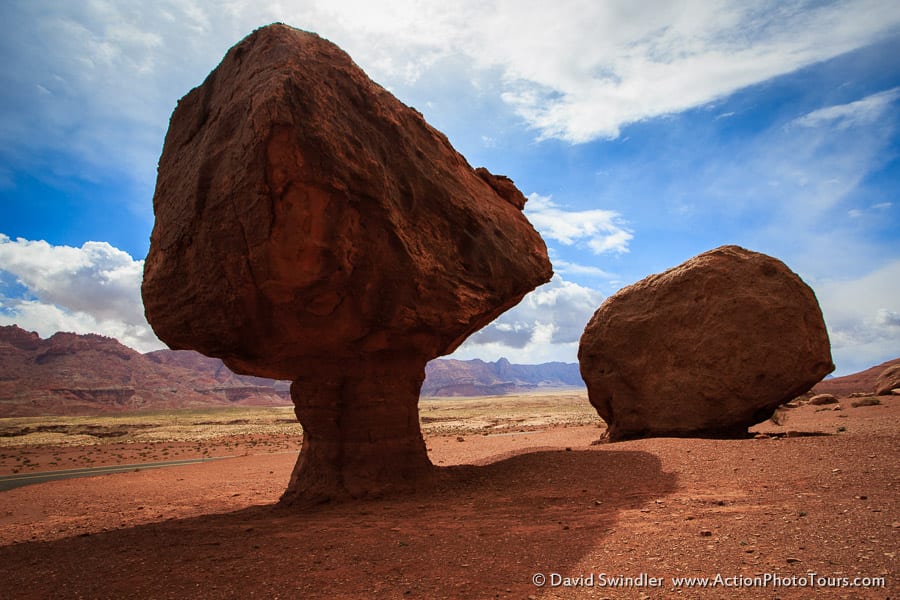
As you’re leaving Lee’s Ferry, look for these unique mushroom rocks on the right side of the road. In hindsight, I should have included a person in the shot so you could see how big they are!
As far as logistics, you’ll need a shuttle to do this hike. Either bring two cars or arrange a ride with a local shuttle provider. The BLM Website is a great resource to get you started. You’ll also need a permit for this hike, so make your reservations early if going during the busy season. We went in April since the vegetation is green and there aren’t many bugs. In early summer, the bugs can get bad. August should be avoided since it’s during the monsoon season. Although Paria Canyon isn’t a risk for flash floods, high water would make the hike more difficult and limit your options. I recommend wearing an old pair of tennis shoes with neoprene socks and a neoprene stretch gaiter over the top. Don’t wear sandals as you’ll get lots of debris caught in them. Also, the water can have high mineral content that can irritate your skin. I recommend wearing pants to avoid getting itchy legs. Walking sticks are a nice accessory for better balance on slippery rocks. Bring a tent with a rainfly. Even though it might not rain, blowing sand can become really irritating if you only have a mesh tent. Finally, if you’re interested in finding all the neat things and side-hikes in the canyon, check out Michael Kelsey’s book entitled “Hiking and Exploring the Paria River.”
For photo gear, bring a wide angle lens, a polarizing filter, and a tripod. The tripod is essential since light is often pretty low in the canyon and you need as much depth of field as possible. Have fun exploring the Paria River Canyon!